Related News
11 Gauge Coil Roofing Nails: The Ultimate Guide to Selecting and Installing
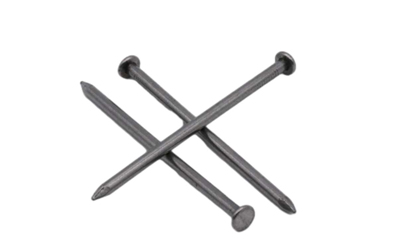
Apr . 23, 2024 17:20 . These nails are designed to provide exceptional holding power and durability, ensuring the longevity and integrity of the roof. In this comprehensive guide, we will delve into the intricacies of 11 gauge coil roofing nails, exploring their features, types, specifications, installation techniques, and essential considerations.
### Features and Benefits of 11 Gauge Coil Roofing Nails
- **Exceptional Holding Power:** 11 gauge coil roofing nails are thicker and more robust than standard roofing nails, providing superior resistance to pull-out forces and ensuring the security of the roofing panels.
- **Enhanced Durability:** These nails are typically coated with a corrosion-resistant material, such as hot-dipped galvanized, which prevents rust and extends their lifespan.
- **Improved Penetration:** The thicker gauge of the nails allows for easier penetration through metal roofing panels, reducing the risk of bending or breaking.
- **Time-Saving Installation:** Coil roofing nails are designed to be installed with a nail gun, which significantly speeds up the installation process compared to hand-nailing.
### Types of 11 Gauge Coil Roofing Nails
There are two primary types of 11 gauge coil roofing nails:
- **Ring Shank Nails:** These nails feature a series of rings or ridges around the shank, which provide increased holding power by engaging with the wood substrate.
 .
### Specifications to Consider
When selecting 11 gauge coil roofing nails, it is essential to consider the following specifications:
- **Length:** The length of the nails should be appropriate for the thickness of the metal roofing panels and the type of substrate being fastened.
- **Diameter:** The diameter of the nails should match the thickness of the metal roofing panels to ensure proper penetration and holding power.
- **Head Type:** The head type can be flat, countersunk, or mushroom-shaped, depending on the desired aesthetic and functionality.
- **Coating:** The coating applied to the nails (e.g., galvanized, stainless steel) affects corrosion resistance and longevity.
### Installation Techniques
To ensure proper installation of 11 gauge coil roofing nails, follow these steps:
1.
 .
2. **Insert the Nail:** Using a nail gun, drive the nail through the metal roofing panel and into the underlying substrate.
3. **Check Penetration:** Ensure that the nail has penetrated the substrate by at least 1 inch or half the length of the nail.
4. **Space the Nails:** The nails should be spaced evenly along the panel, typically at a distance of 12-18 inches apart.
### Essential Considerations
- **Use Appropriate Tools:** Use a high-quality nail gun designed for coil roofing nails to prevent damage to the nails or roofing panels.
 .
- **Wear Safety Gear:** Always wear appropriate safety gear, including gloves and safety glasses, when working with roofing materials and tools.
- **Follow Manufacturer's Instructions:** Refer to the manufacturer's specifications for proper nail size, spacing, and installation techniques.
- **Inspect Regularly:** Regularly inspect the roof to ensure that the nails are still securely in place and there are no signs of corrosion or damage.
### Conclusion
11 gauge coil roofing nails play a pivotal role in securing metal roofing systems, providing unparalleled holding power and durability. By understanding the features, types, specifications, and installation techniques associated with these nails, contractors and homeowners can ensure the longevity and integrity of their metal roofs. Remember to consider the specific requirements of the roofing system, choose high-quality nails and tools, and follow proper installation practices to achieve a secure and long-lasting roof.
 Copyright © 2025 Hebei Minmetals Co., Ltd. All Rights Reserved. Sitemap | Privacy Policy


