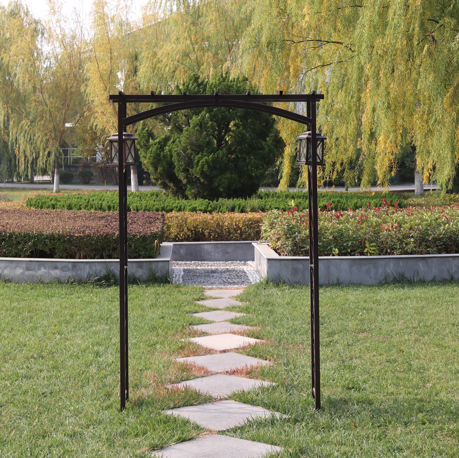
Effective Techniques for Installing Metal Fence Posts with Long-lasting Stability and Strength
Jul . 27, 2024 14:03The Best Way to Install Metal Fence Posts
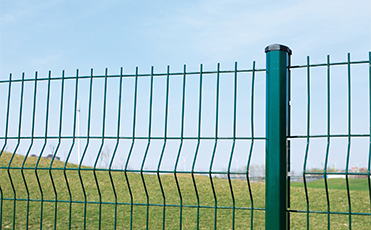
Installing metal fence posts is an essential step in building a durable and long-lasting fence that provides security and enhances the aesthetics of your property. While the project may seem daunting, following the right steps can ensure a successful installation. Here, we break down the best practices for installing metal fence posts to help you achieve a sturdy and reliable fence.
Step 1 Plan Your Layout
Before starting the installation, it's crucial to plan your fence layout. Determine where you want the fence to go, taking into account any local zoning laws and property lines. Use stakes and string to outline the perimeter of your fence. This will help you visualize the project and ensure that your posts are spaced correctly, typically 6 to 8 feet apart depending on the type of fence you are installing.
Step 2 Gather Your Materials
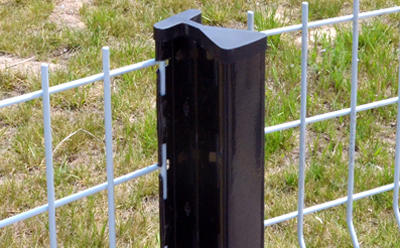
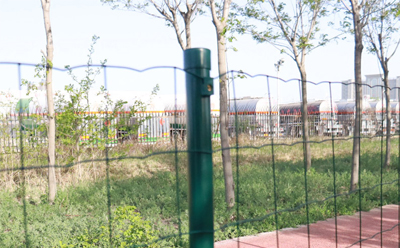
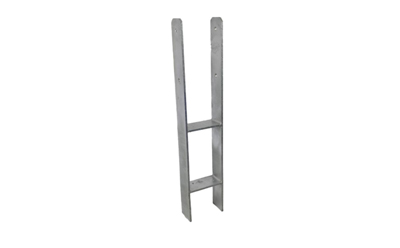
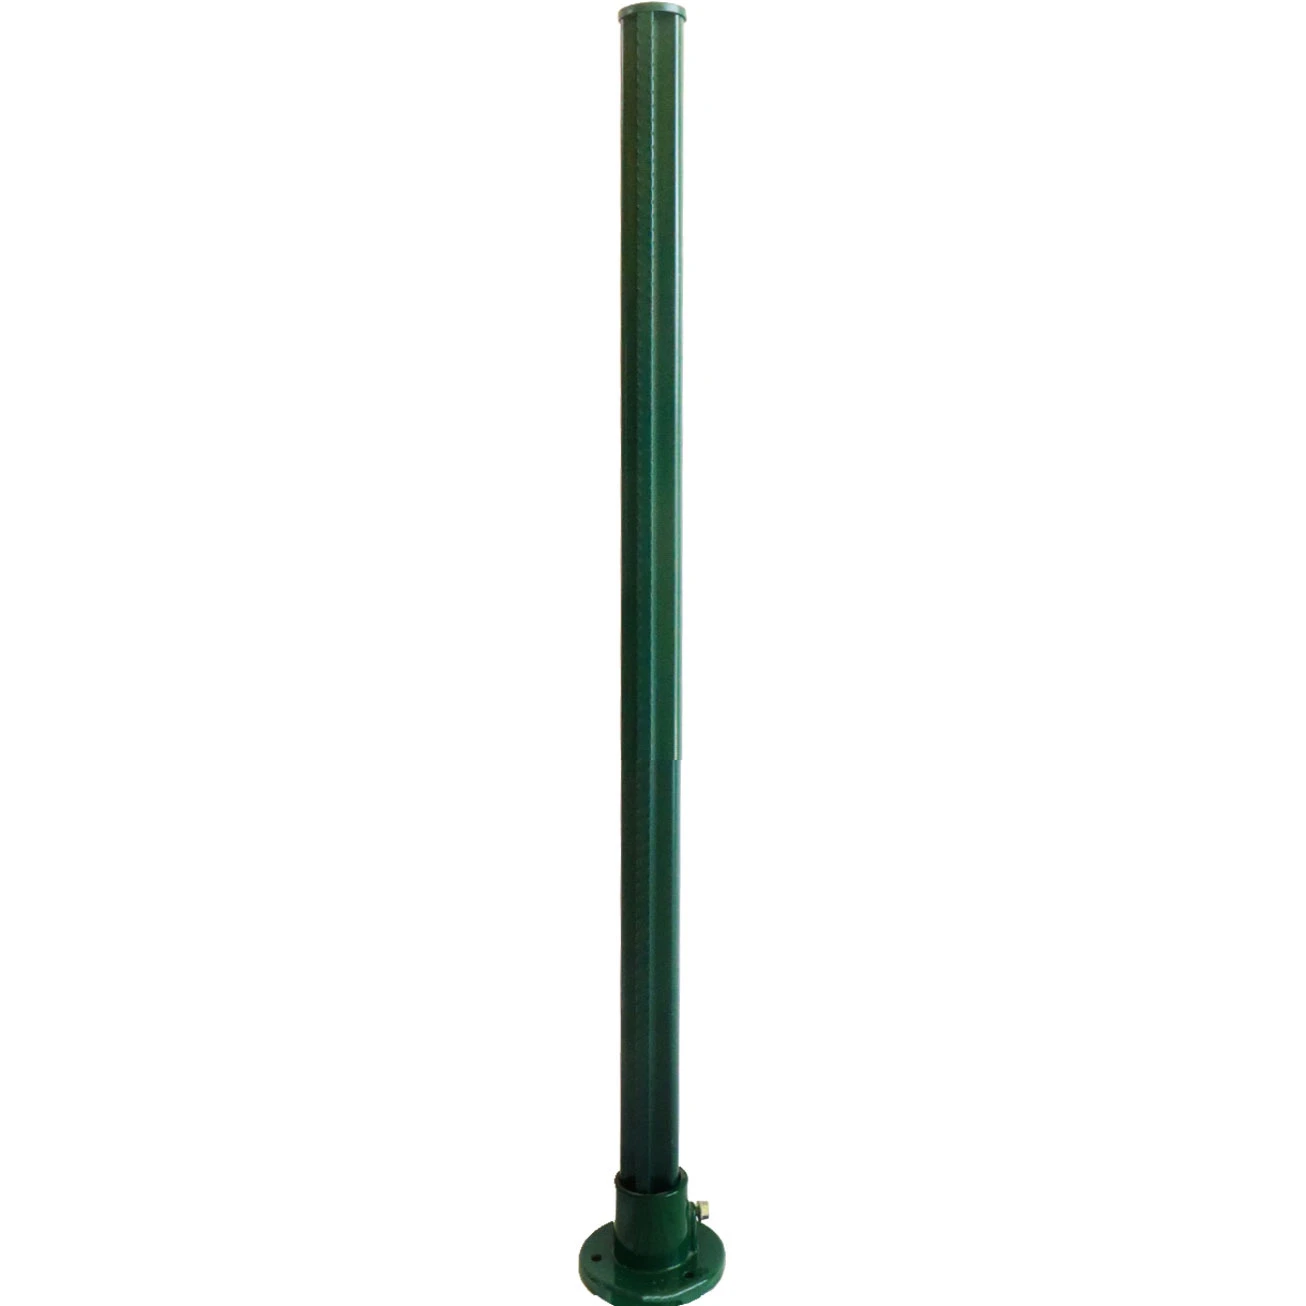
You will need several materials for the installation - Metal fence posts Choose galvanized or powder-coated posts for better resistance to rust and weather. - Concrete mix For setting the fence posts securely in the ground. - Gravel To provide a drainage layer at the bottom of the post holes. - Tools A post hole digger or auger, a shovel, a level, a measuring tape, and a rubber mallet.
Step 3 Dig the Post Holes
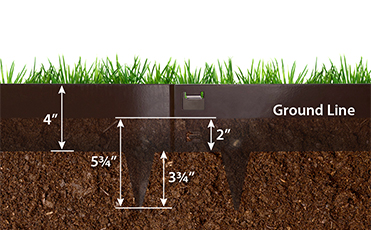
Using a post hole digger or auger, dig holes at least 2 feet deep for line posts and up to 3 feet for corner and end posts. The hole diameter should be about three times the width of the post. This depth ensures that the posts are installed below the frost line, which is critical in colder climates to prevent shifting in the ground due to freeze-thaw cycles.
Step 4 Prepare the Base
At the bottom of each post hole, add a few inches of gravel to promote drainage. This step prevents water from accumulating at the base of the post, which can lead to rusting or deterioration over time. Level the gravel to provide a stable base for the posts.
best way to install metal fence posts
Step 5 Set the Posts
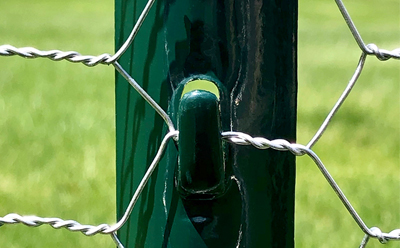
Insert the metal fence posts into the holes, ensuring they are aligned with your layout. For optimal stability, the posts should be perpendicular to the ground. Use a level to check that each post is straight both vertically and horizontally. If needed, adjust the depth of the holes until the posts are perfectly aligned.
Step 6 Secure the Posts
Once you have all the posts in place and level, it’s time to secure them. Mix the concrete according to the manufacturer’s instructions and pour it into the hole around the post. Fill to about 3 inches from the top of the hole and then use a trowel to smooth the surface. Allow the concrete to set for at least 24 to 48 hours for maximum stability.
Step 7 Attach the Fence Panels
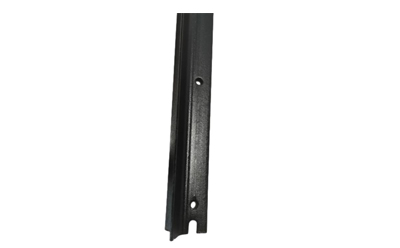
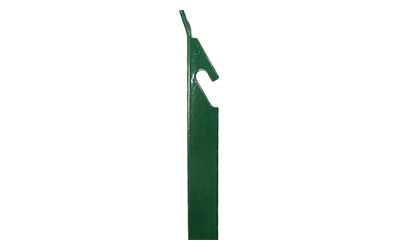
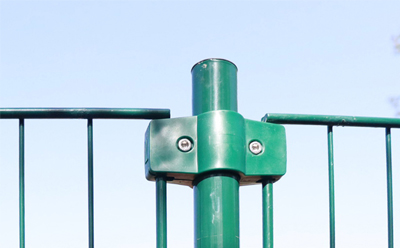
After the concrete has cured, you can begin attaching the fence panels to your metal posts. Most metal fences come with pre-drilled holes or brackets that facilitate easy installation. Make sure to follow the manufacturer’s instructions for attaching the panels securely.
Step 8 Final Check and Maintenance
Finally, give your installed fence a once-over. Check the alignment of the posts and panels, ensuring everything is straight and securely fastened. Regular maintenance, including checking for rust or damage, will help extend the life of your metal fence.
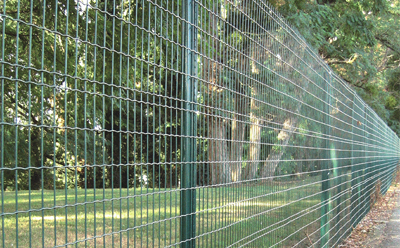
By following these steps, you will ensure that your metal fence posts are installed correctly, giving you peace of mind and a beautiful enclosure for your property that can withstand the test of time. With patience and attention to detail, your fencing project will result in a sturdy barrier that you can enjoy for years to come.
Copyright © 2025 Hebei Minmetals Co., Ltd. All Rights Reserved. Sitemap | Privacy Policy

