


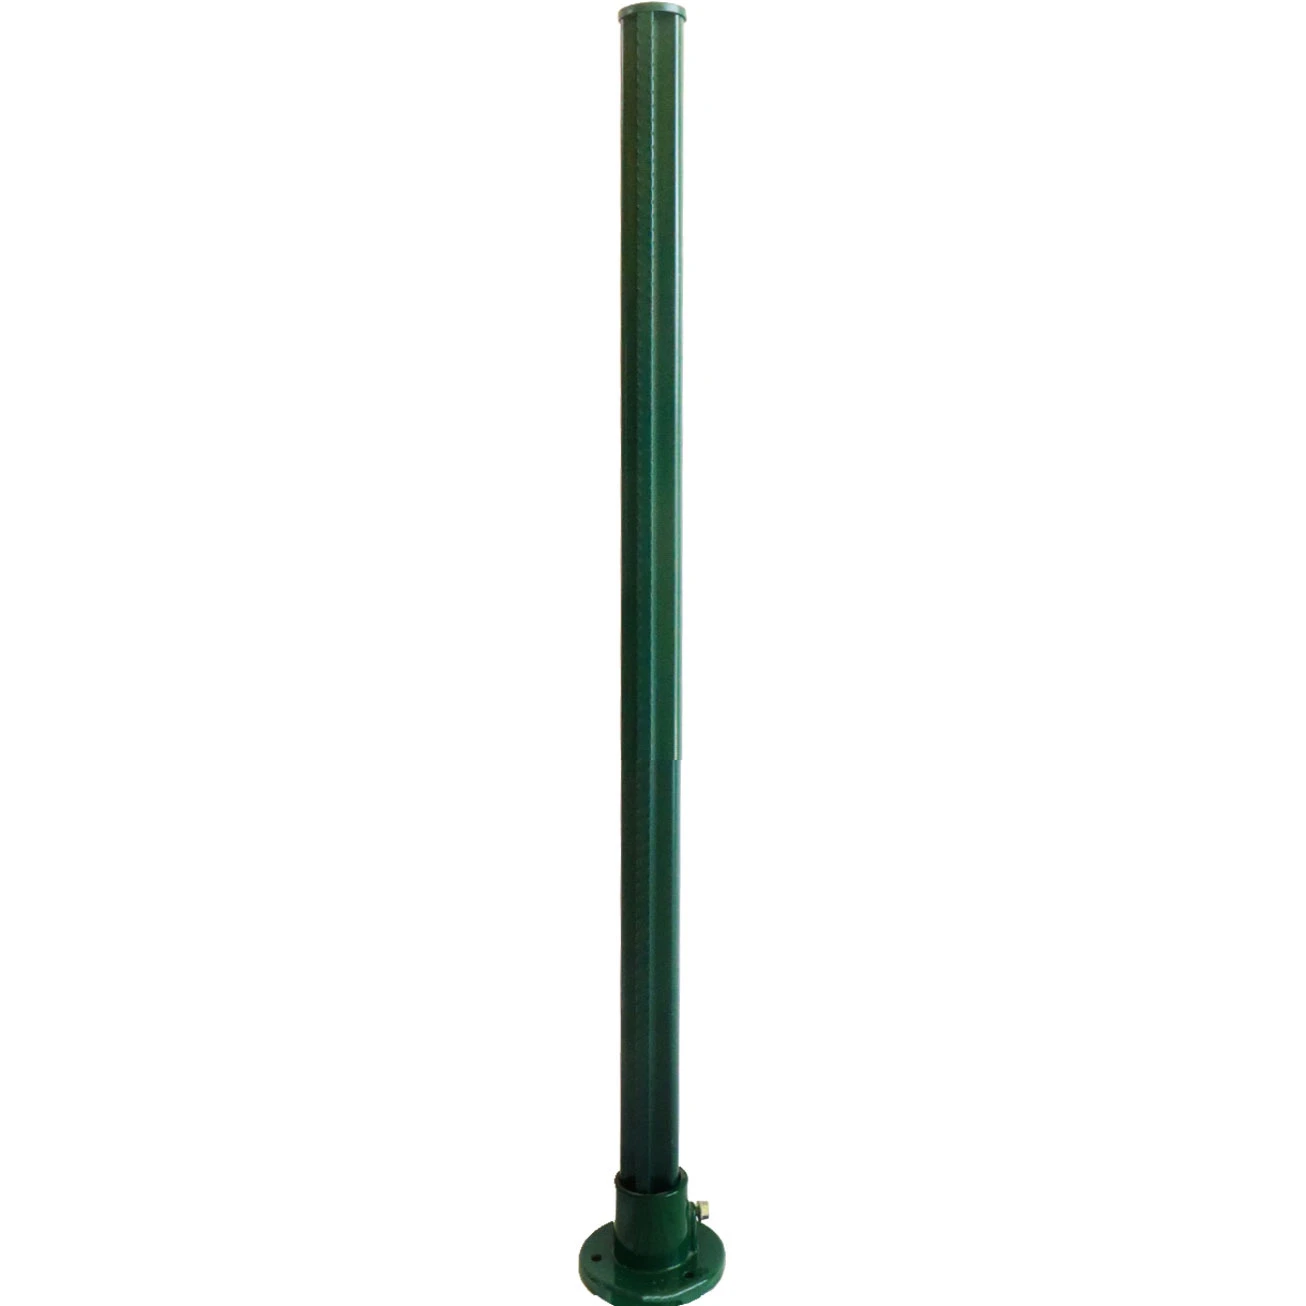


 Step 4 Set the Posts
Place the posts into the holes and secure them in place using concrete
Step 4 Set the Posts
Place the posts into the holes and secure them in place using concreteinstalling fence panels. Follow the manufacturer's instructions for the type of concrete and the amount needed for each post. Allow the concrete to dry completely before proceeding to the next step.
Step 5 Attach the Panels
Once the concrete has dried, attach the fence panels to the posts using the brackets and screws provided. Make sure to follow the manufacturer's instructions carefully to ensure that the panels are installed correctly and securely. Use a level to ensure that the panels are installed straight and even.
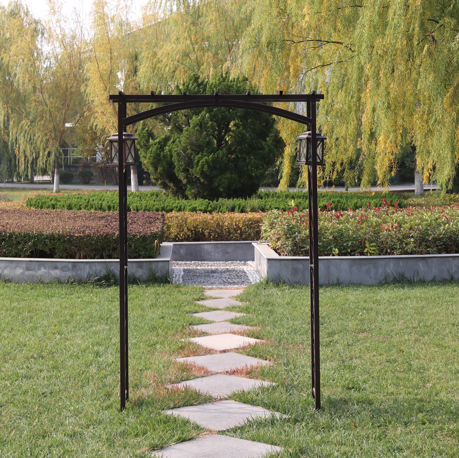
Step 6 Install the Gate
If you plan to include a gate in your fence, now is the time to install it. Choose a gate that is proportional to the size of your fence and install it according to the manufacturer's instructions. Make sure that the gate is securely attached to the fence posts and opens and closes smoothly.
In conclusion, installing fence panels is a straightforward process that can greatly enhance the appearance and security of your property. By following these simple steps, you can enjoy the benefits of a beautiful and well-secured outdoor space.
Step 4 Set the Posts
Place the posts into the holes and secure them in place using concrete
Step 4 Set the Posts
Place the posts into the holes and secure them in place using concreteinstalling fence panels. Follow the manufacturer's instructions for the type of concrete and the amount needed for each post. Allow the concrete to dry completely before proceeding to the next step.
Step 5 Attach the Panels
Once the concrete has dried, attach the fence panels to the posts using the brackets and screws provided. Make sure to follow the manufacturer's instructions carefully to ensure that the panels are installed correctly and securely. Use a level to ensure that the panels are installed straight and even.
Step 6 Install the Gate
If you plan to include a gate in your fence, now is the time to install it. Choose a gate that is proportional to the size of your fence and install it according to the manufacturer's instructions. Make sure that the gate is securely attached to the fence posts and opens and closes smoothly.
In conclusion, installing fence panels is a straightforward process that can greatly enhance the appearance and security of your property. By following these simple steps, you can enjoy the benefits of a beautiful and well-secured outdoor space. 
Copyright © 2025 Hebei Minmetals Co., Ltd. All Rights Reserved. Sitemap | Privacy Policy