Installing Vinyl Privacy Fence Panels for Enhanced Security and Aesthetic Appeal in Your Outdoor Space
Jul . 31, 2024 10:15Installing Vinyl Privacy Fence Panels A Step-by-Step Guide
Installing vinyl privacy fence panels is an excellent way to create a secluded outdoor space while adding beauty and value to your property. Unlike traditional wooden fences, vinyl fencing is low-maintenance, durable, and resistant to weather and pests. This guide will walk you through each step necessary for a successful installation.
Step 1 Planning and Preparation
Before you start installing your vinyl privacy fence, it’s essential to plan carefully. Begin by determining the area you want to enclose. Consider local zoning laws and homeowners association (HOA) guidelines that may dictate fence height and placement. Additionally, check for underground utilities by contacting your local utility company to avoid any mishaps during installation.
Once you have a clear understanding of regulations, measure the perimeter where you intend to install the fence. This measurement will help you determine how many panels and other materials you will need. Don’t forget to mark the location of your fence posts; ideally, they should be spaced 6-8 feet apart.
Step 2 Gathering Materials
You’ll need several materials for the fence installation, including
- Vinyl fence panels - Vinyl fence posts - Concrete mix or gravel for post setting - Cap or top rail (if applicable) - Level - Tape measure - Power drill - Saw (if adjustments are needed)
Purchase all materials from a reputable supplier to ensure they meet quality standards.
Step 3 Setting the Posts
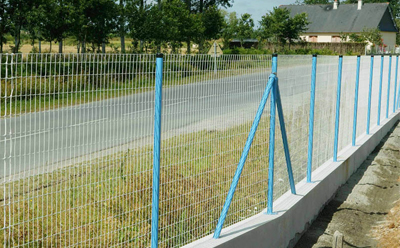
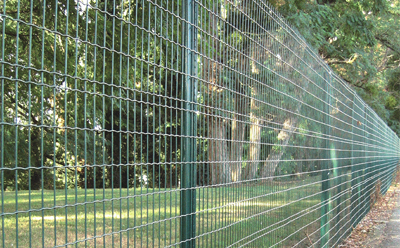
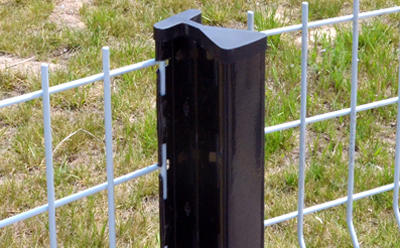
installing vinyl privacy fence panels
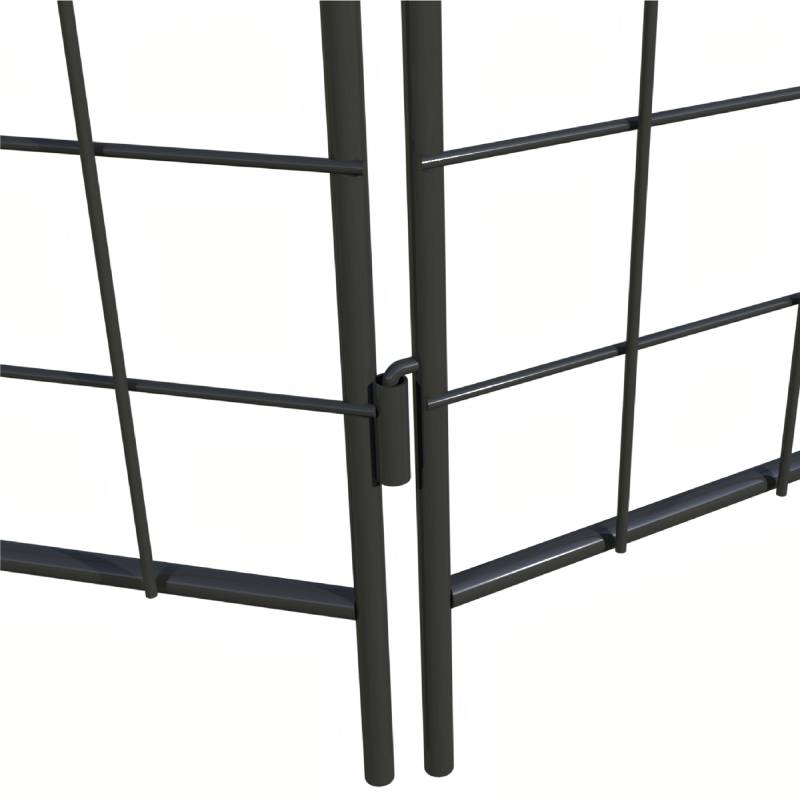
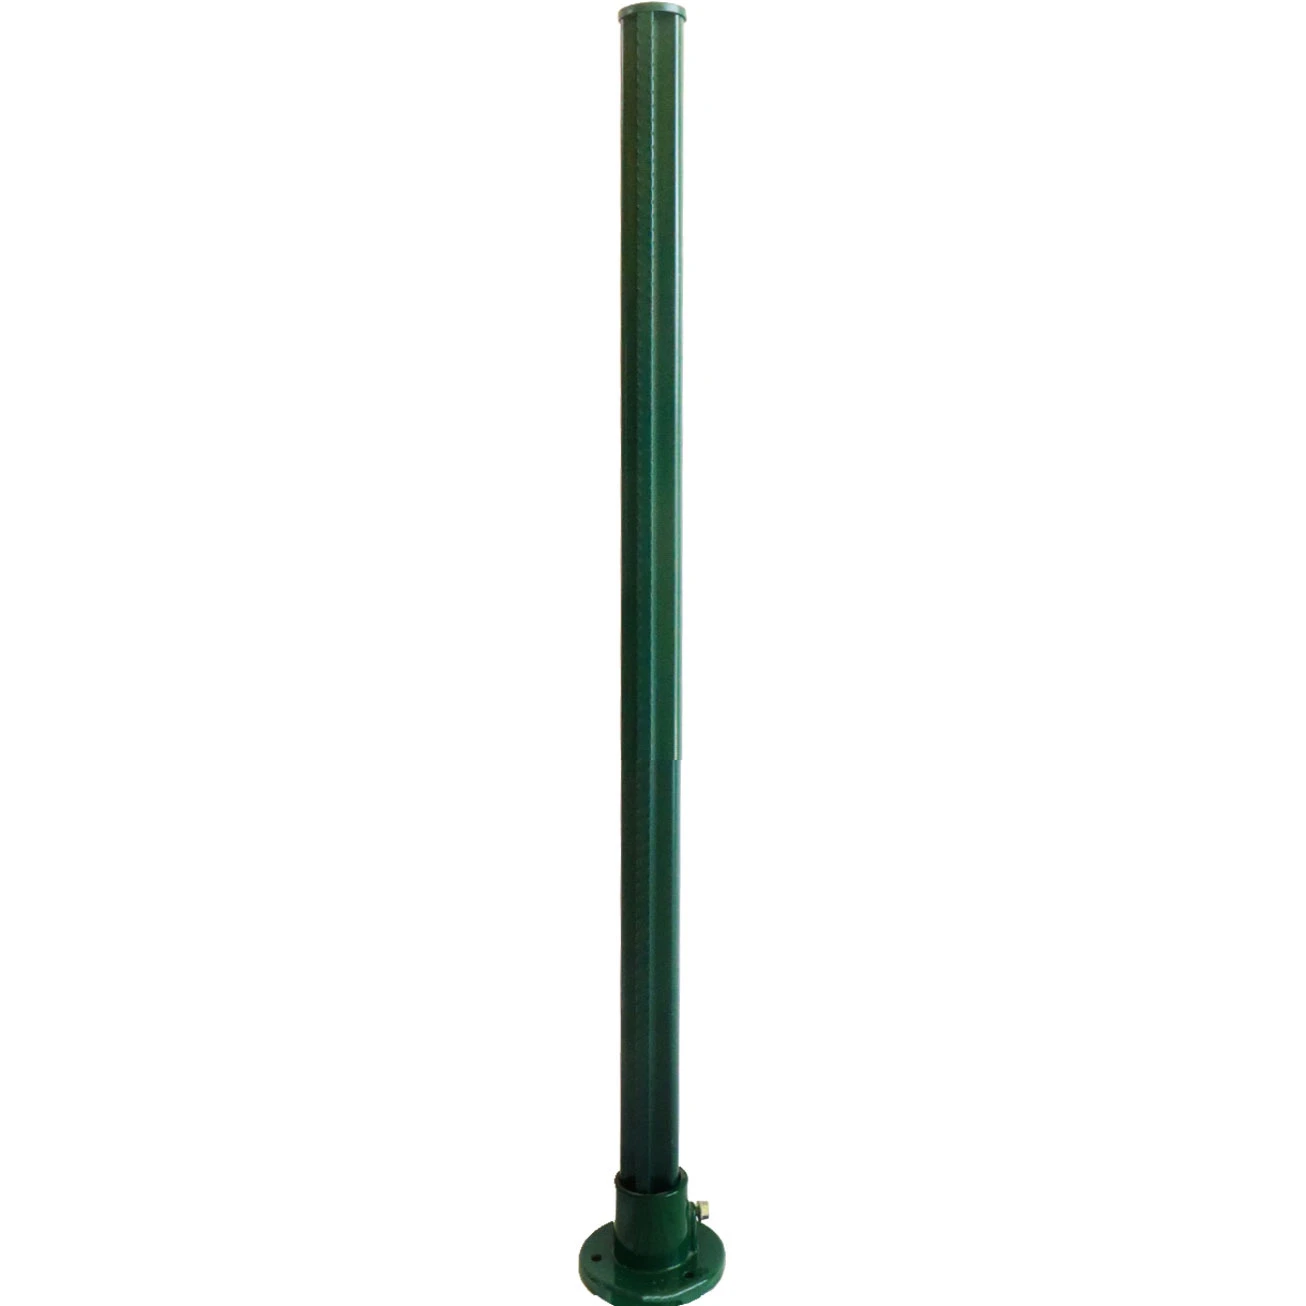
Once you have all your materials, it’s time to begin the installation process. Start by digging post holes at the marked locations. The holes should be at least 2-3 feet deep, depending on your local frost line and the height of the fence. Ensure that the holes are wide enough to accommodate the fence posts and concrete.
After digging the holes, insert the posts into the holes and use a level to ensure they are vertical. Once positioned correctly, fill the holes with concrete mix or gravel. If using concrete, allow it to cure according to the manufacturer's instructions, typically 24 to 48 hours, before proceeding to the next step.
Step 4 Attaching the Panels
With the posts securely set, it’s time to attach the vinyl fence panels. Start from one end of the fence and work towards the other. Each panel typically has special brackets or grooves that fit into the posts. Slide the panel into place, ensuring it is level and aligned properly.
If the panels are too long, you may need to trim them to fit your layout. Use a saw to make precise cuts, and always wear protective gear while working. Once the panels are aligned, secure them with screws or brackets as instructed by the manufacturer's guidelines.
Step 5 Final Touches
After installing all the panels, check the entire fence line to ensure everything is straight and secure. If your vinyl fence design includes a top rail or caps, install these next to complete the look. Additional finishing touches may include adding decorative elements or landscaping around the fence to enhance your outdoor space.
Conclusion
Installing vinyl privacy fence panels may seem daunting, but with careful planning and execution, it can be a rewarding DIY project. By following the steps outlined above, you can create a beautiful and secure environment for you and your family. Enjoy your new fence, knowing it will provide both privacy and a stylish boundary for years to come!
Copyright © 2025 Hebei Minmetals Co., Ltd. All Rights Reserved. Sitemap | Privacy Policy


