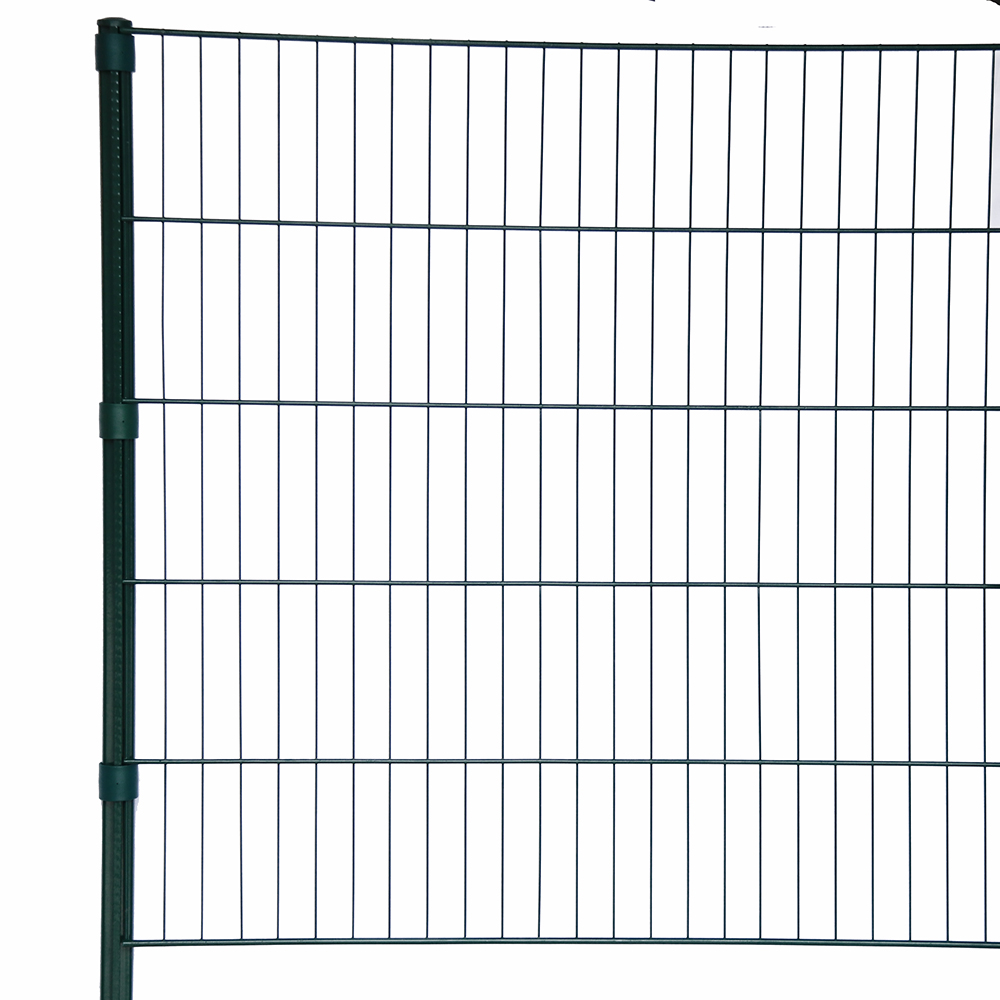
chain link gate installation
Dec . 04, 2024 10:35
Chain Link Gate Installation A Comprehensive Guide
Installing a chain link gate can be an excellent addition to your property, offering security while still allowing visibility. Whether you're setting it up for a residential yard or a commercial space, the process is fairly straightforward if you have the right tools and materials. In this guide, we will walk you through the steps necessary to install a chain link gate effectively.
Tools and Materials Needed
Before we dive into the installation process, let’s gather the required tools and materials
Tools 1. Tape measure 2. Level 3. Post hole digger or auger 4. Wrench set 5. Pliers 6. Hammer 7. Drill
Materials 1. Chain link gate (pre-fabricated or custom-made) 2. Gate posts (typically galvanized steel) 3. Concrete mix (for setting posts) 4. Fence ties or clips 5. Hinge and latch assembly 6. Gravel (optional for drainage)
Step 1 Planning the Installation
Before starting the installation, it’s essential to plan where your gate will be located. Measure the opening where the gate will be placed to ensure that you purchase the correct size. A standard chain link gate width is generally between 4 to 12 feet, depending on your requirements.
It’s also important to check local zoning laws and regulations regarding fencing and gate installations to ensure compliance.
Step 2 Setting Up Gate Posts
1. Mark the Post Locations Use your tape measure to determine where your gate posts will go. Typically, the hinge post should be on the side where the gate will open inwards, and the latch post on the opposite side.
2. Dig the Post Holes Use a post hole digger or auger to create holes for your gate posts. The holes should be about 2 feet deep for stability, especially if your gate is on the larger side.
3. Insert the Gate Posts Place the hinge post in one hole and the latch post in the other. Ensure that both posts are straight and level. You may need a helper to hold them in place.
chain link gate installation

4. Secure the Posts Mix your concrete as per the manufacturer’s instructions and pour it into the holes around the gate posts. Allow the concrete to set, typically 24 to 48 hours, before proceeding to the next steps.
Step 3 Attaching the Chain Link Gate
1. Install the Hinges After the concrete has hardened, attach the hinges to the hinge post. Position them at a height that will allow the gate to swing easily without touching the ground.
2. Hang the Gate With the help of another person, lift the chain link gate and place the hinge side onto the hinges you just installed. Make sure the gate is level.
3. Attach the Latch Follow the manufacturer's instructions to install the latch assembly on the latch post. Ensure that it is positioned correctly for easy access and functionality.
Step 4 Final Adjustments
After the gate is hung, check its operation. Open and close the gate several times to ensure it swings freely without any obstructions. Adjust the hinges or latch as necessary to ensure that it functions correctly.
If your gate feels heavy, consider adjusting the hinges’ position or installing supplementary supports to assist with balance.
Step 5 Finishing Touches
To complete your installation, you may want to add a gravel base at the bottom of the gate to enhance drainage and reduce the risk of mud buildup around the gate area. This not only helps with functionality but also enhances the aesthetic appeal of your installation.
Conclusion
Installing a chain link gate can significantly enhance your property's security while allowing visibility and airflow. With careful planning and the proper tools, you can complete the installation efficiently. Always remember to adhere to local regulations and safety standards to ensure a successful outcome. Enjoy the improved functionality of your space with your newly installed chain link gate!


