How to Install Steel Fence Posts
Oct . 21, 2024 17:51
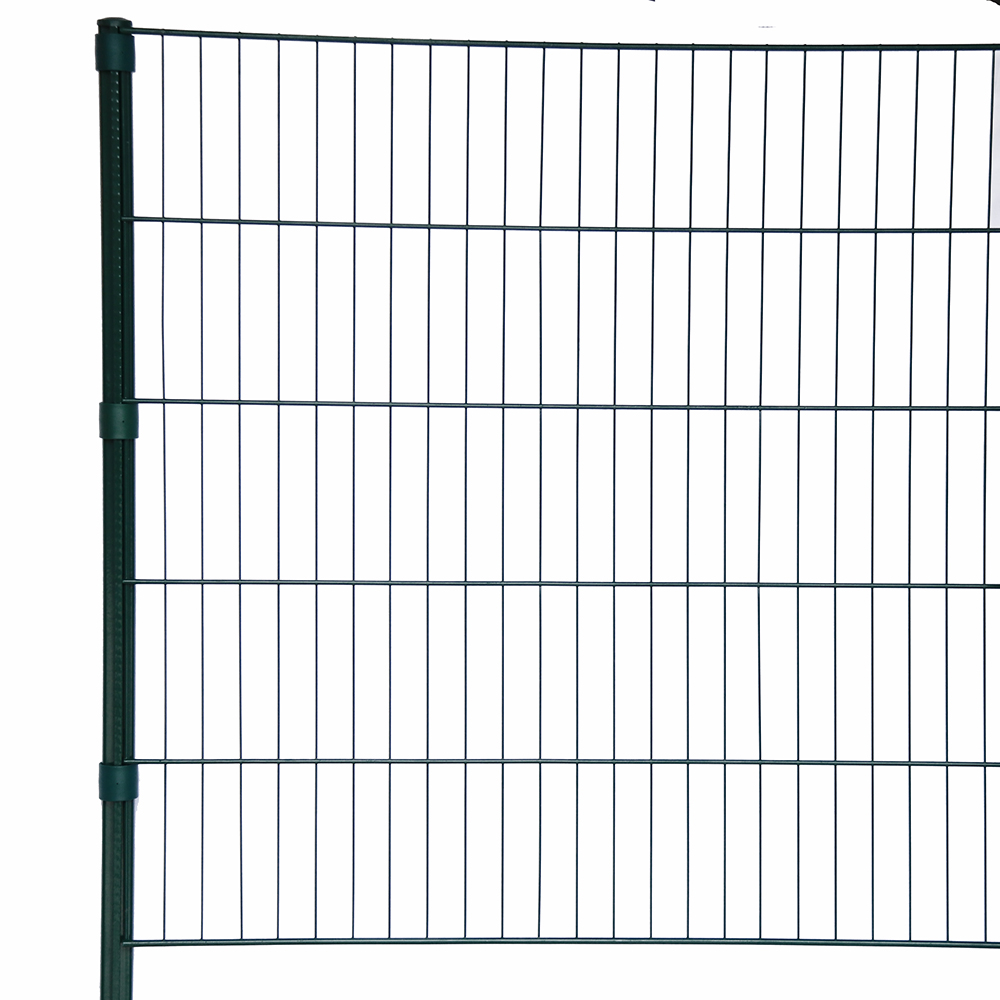
Installing steel fence posts(https://www.hebeimetals.com/products/post) is a crucial step in building a durable and long-lasting fence. Steel posts offer superior strength and stability compared to traditional wooden posts, making them an excellent choice for various fencing applications. Whether you’re enclosing a garden, creating a boundary for livestock, or enhancing your property’s security, knowing how to install steel fence posts correctly is essential. This guide will walk you through the process step-by-step.
Materials Needed
Before you begin, gather the necessary materials and tools:
- Steel fence posts
- Concrete mix (if setting posts in concrete)
- Gravel (for drainage)
- Post hole digger or auger
- Level
- Measuring tape
- String line
- Hammer
- Safety gear (gloves, goggles)
Step 1: Planning Your Fence
Before you install steel fence posts, it’s vital to plan your fence layout. Determine the location, length, and height of your fence. Use a measuring tape to mark the positions of the posts, ensuring they are evenly spaced. A common distance between posts is 6 to 8 feet, depending on the type of fence you are installing.
Step 2: Digging the Post Holes
Once you have marked the locations, it’s time to dig the post holes. The depth of the holes should be at least one-third the height of the post above ground. For example, if you are using 8-foot posts, the holes should be at least 2.5 feet deep. Use a post hole digger or auger to create the holes, ensuring they are wide enough to accommodate the posts comfortably.
Step 3: Adding Gravel for Drainage
To prevent water from pooling around the base of the posts, add a few inches of gravel to the bottom of each hole. This will provide drainage and help prolong the life of your steel posts. Make sure the gravel is evenly distributed before proceeding to the next step.
Step 4: Setting the Steel Fence Posts
Carefully place the steel fence posts into the holes. Use a level to ensure that each post is vertical. If you are installing a fence that requires a specific height, make sure the tops of the posts are aligned. Once the posts are positioned correctly, you can either fill the holes with concrete or backfill with soil.
Option A: Setting in Concrete
If you choose to set the posts in concrete, mix the concrete according to the manufacturer’s instructions. Pour the concrete into the hole around the post, ensuring it is evenly distributed. Use a level to check the post’s vertical alignment again. Allow the concrete to cure for at least 24 to 48 hours before proceeding with the next steps.
Option B: Backfilling with Soil
If you prefer to backfill with soil, pack the soil tightly around the post to provide stability. Water the soil lightly to help it settle. Check the post’s alignment one last time before moving on.
Step 5: Installing the Fence Panels
Once the steel fence posts are securely in place, you can begin installing the fence panels. Depending on the type of fence you are building, this may involve attaching panels directly to the posts or using additional hardware. Follow the manufacturer’s instructions for your specific fence type.
Step 6: Final Touches
After the panels are installed, take a step back and inspect your work. Ensure that everything is level and aligned. Make any necessary adjustments before securing everything in place. Finally, clean up the work area, removing any debris or excess materials.
Installing steel fence posts may seem daunting, but with the right tools and a bit of planning, it can be a straightforward process. By following these steps, you can create a sturdy and reliable fence that will stand the test of time. Whether for privacy, security, or aesthetics, a well-installed steel fence will enhance your property for years to come.


