


Installing a Garden Fence with U Posts A Comprehensive Guide
A well-fenced garden not only enhances the beauty of your outdoor space but also provides essential security and privacy. Installing a garden fence using U posts is a practical and efficient solution that many homeowners prefer. U posts, also known as T posts or fence posts, are durable and easy to install, making them a popular choice for both novice and seasoned DIYers. In this article, we will explore the steps, tips, and considerations for successfully installing a garden fence with U posts.
Why Choose U Posts?
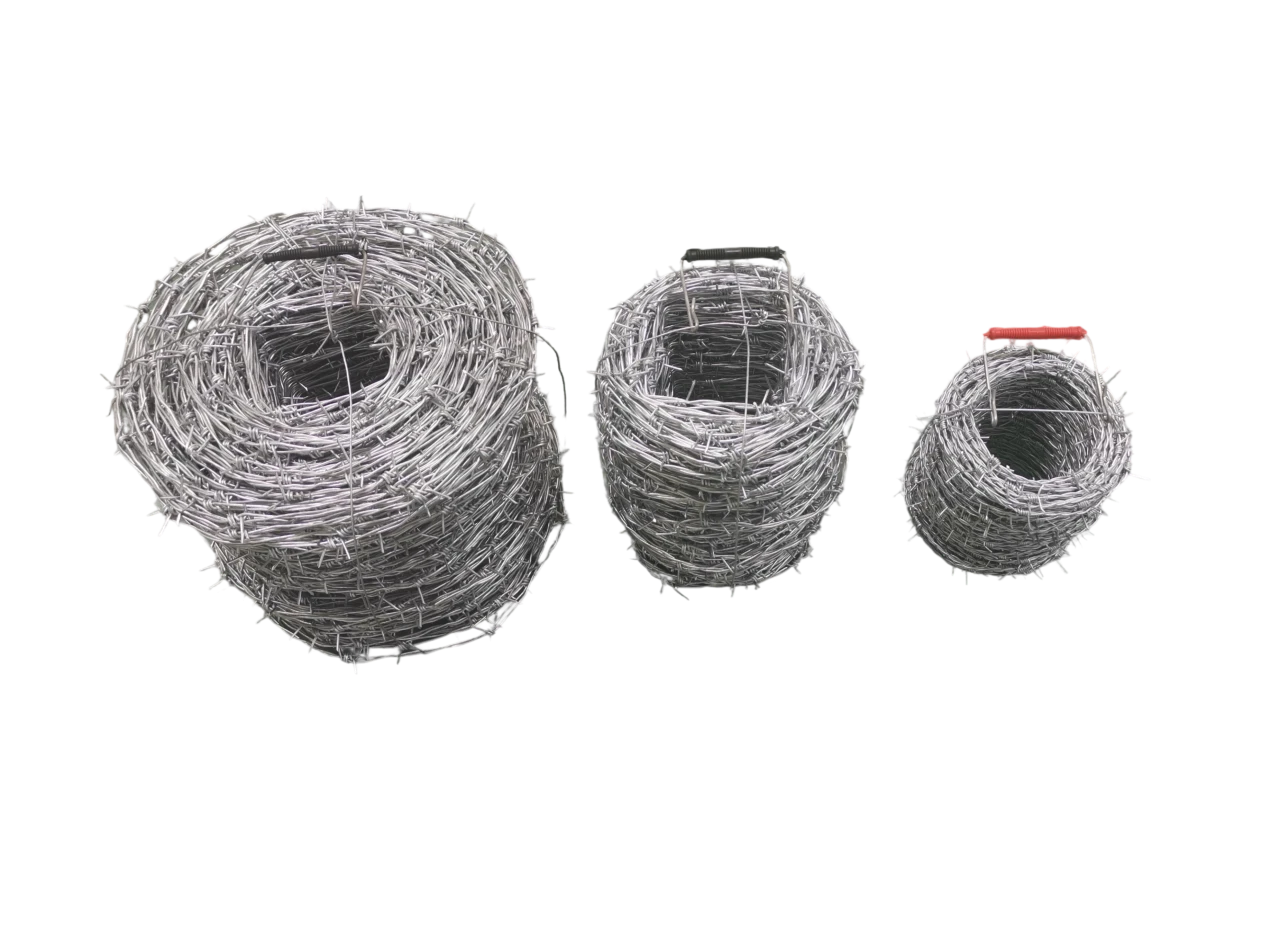
U posts are made of heavy-duty galvanized steel or sometimes aluminum, designed to hold up against harsh weather and provide long-lasting stability. Their unique shape allows for easy installation without the need for concrete footings in most situations, reducing labor and cost. They also adapt well to a variety of fence types, including wire fencing, mesh, and wooden panels.
Materials Required
Before starting the installation, it’s crucial to gather all the necessary materials - U posts - Fencing material (such as wire, wooden panels, or vinyl sections) - Post driver or hammer - Level - Measuring tape - Fence connectors or ties - Optional gravel or concrete for added stability
Step-by-Step Installation Process
1. Planning Your Fence Begin by determining the perimeter of your garden area. Use stakes and string to mark the layout visually. It’s essential to consider local regulations or homeowners’ association rules regarding fence height and placement.
2. Measuring and Marking Measure the distance between your U posts, usually around 6 to 8 feet, depending on the type of fencing you’re using. Mark the locations with a paint marker or flags, ensuring that they are straight and evenly spaced.

3. Installing U Posts Using a post driver or hammer, drive the U posts into the ground at the marked locations. Ensure that the posts are driven deep enough to provide stability, typically 1/3 of the post height should be underground. Utilize a level to check that the posts are straight both vertically and horizontally.
4. Attaching the Fencing Material Once the U posts are secured in place, begin attaching your chosen fencing material. If you’re using wire fencing, wrap it around the U posts and secure it with appropriate fencing ties. For wooden or vinyl panels, use connectors or brackets specifically designed for U posts. Ensure that each section is tight and secure, maintaining the desired height and alignment.
5. Adding Extra Stability Although U posts are sturdy, adding gravel or concrete at the base can provide additional stability, especially in areas with high winds or loose soil. If you choose this route, dig a small hole around the bottom of each post, fill it with gravel or concrete, and ensure it cures according to the manufacturer’s instructions.
6. Finishing Touches Walk along the fence line to check for alignment and tension in the fencing material. Adjust any sections as necessary, and trim any excess fencing. Finally, consider adding a decorative touch, such as paint or a decorative cap for the U posts, to enhance the aesthetic appeal of your garden fence.
Maintenance Tips
Once your fence is installed, routine maintenance is essential to preserve its integrity. Regularly inspect the U posts and fencing for signs of wear or damage. Clean the fence periodically to prevent rust or corrosion, particularly if you’ve opted for metal fencing. Re-tighten any loose ties and replace any damaged sections promptly.
Conclusion
Installing a garden fence with U posts is an effective way to define your outdoor space while providing security and aesthetic appeal. With proper planning and execution, you can create a durable and attractive barrier that enhances your garden for years to come. Whether you’re looking to keep pets contained, ward off wildlife, or simply enjoy a little more privacy, a well-constructed fence will meet your needs while adding charm to your property. Happy fencing!

Copyright © 2026 Hebei Minmetals Co., Ltd. All Rights Reserved. Sitemap | Privacy Policy | Menu