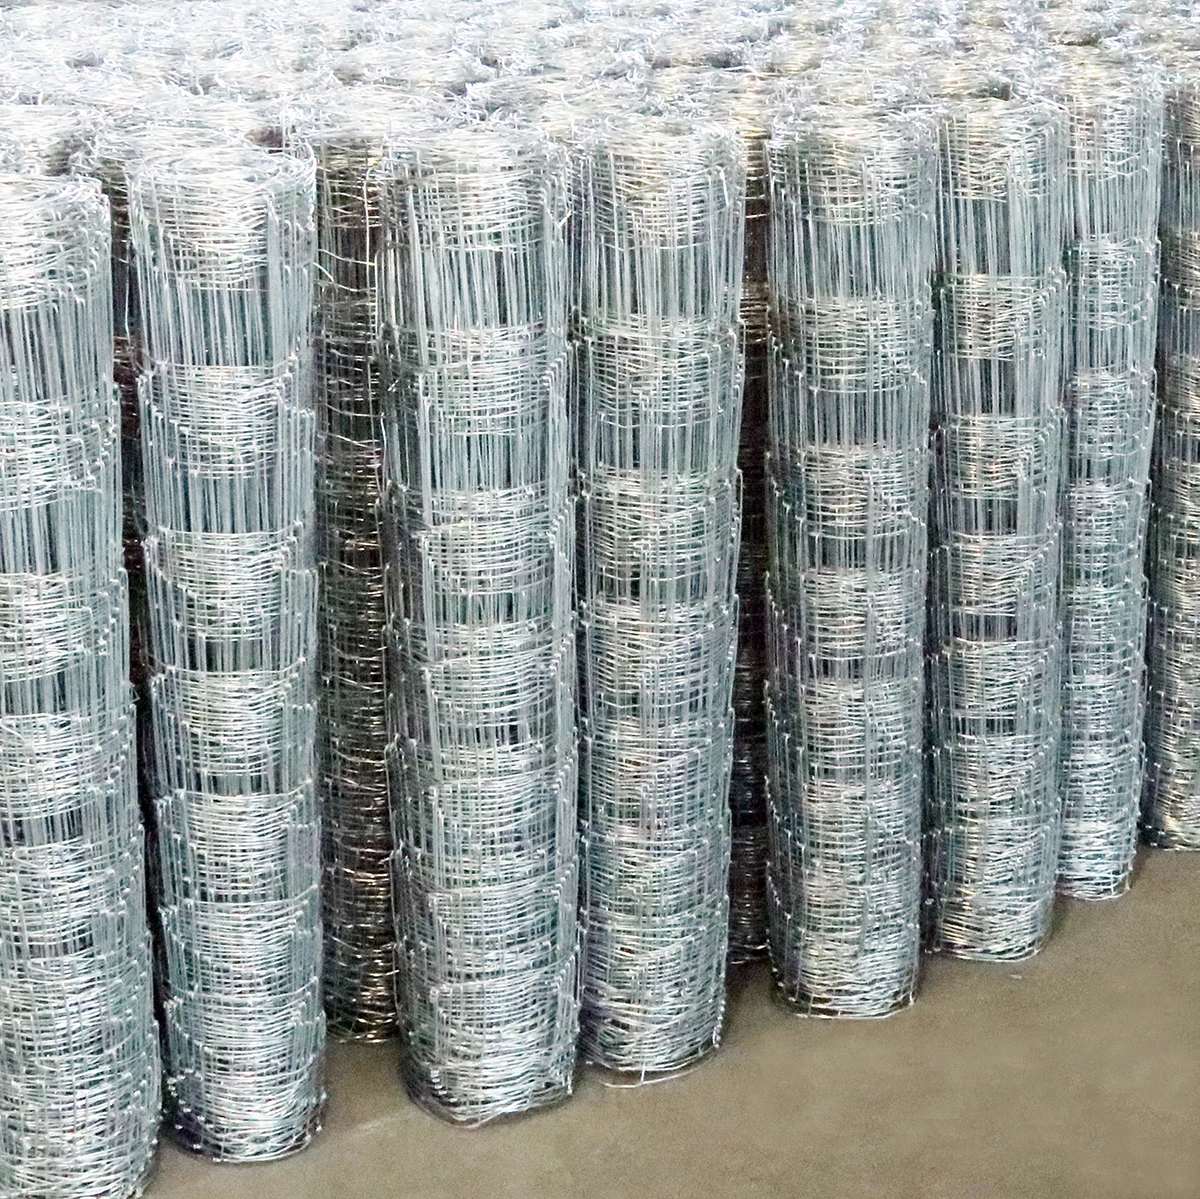
Strategies for Installing Fence Panels Efficiently and Enhancing Your Outdoor Space Aesthetics
Jul . 28, 2024 19:27
How to Effectively Put Up Fence Panels
Putting up fence panels can be an excellent way to enhance the privacy, security, and aesthetic appeal of your property. Whether you're looking to create a boundary for your garden, keep pets safe, or simply add a decorative element to your yard, installing fence panels can be a rewarding DIY project. Here’s a step-by-step guide to help you put up fence panels effectively.
Step 1 Planning and Preparation
Before you start the installation, proper planning is crucial. Begin by determining the area where you want to install the fence. Measure the length of the boundary and decide on the height of the panels. Next, check local building codes and homeowners' association guidelines to ensure compliance with any specific requirements.
Once you have a clear plan, gather all necessary materials and tools. You will typically need fence panels, fence posts, concrete mix, nails or screws, a level, a tape measure, a post hole digger, a hammer or a power drill, and safety gear such as gloves and goggles.
Step 2 Marking the Layout
Use stakes and twine to mark the layout of your fence. Place the stakes at the corners and at the ends of your intended fence line. This layout will serve as your guide for digging post holes and positioning panels. Make sure the layout is straight by checking measurements multiple times.
Step 3 Digging Post Holes
Using a post hole digger, dig holes for the posts at intervals of about 6 to 8 feet, depending on the size of your fence panels. The holes should be at least one-third the length of the posts deep to ensure stability. For example, if you are using 6-foot posts, the holes should be at least 2 feet deep.
putting up fence panels

Step 4 Setting the Posts
Once the holes are ready, it's time to set the fence posts. Place a post in each hole, making sure it is vertical and aligned with the other posts. You can use a level to check for plumb. To secure the posts, fill the holes with concrete mix according to the manufacturer's instructions. Allow the concrete to set completely before proceeding to the next step, usually about 24 to 48 hours.
Step 5 Attaching Fence Panels
Once the posts are securely set, it’s time to attach the fence panels. Start at one end of the fence and position the first panel between two posts. Use nails or screws to fasten the panel to the posts, ensuring that it is level and flush with the top of the posts. Repeat this process for each panel, moving along the fence line until all panels are installed. It's essential to maintain consistency, so check that each panel is aligned properly as you go.
Step 6 Finishing Touches
After all panels are attached, inspect the fence for any gaps or loose panels. You may want to apply a wood preservative or paint if you’re using wooden panels to prevent rot and enhance durability. Adding gravel at the base of the fence can help with drainage and prevent rust on metal panels.
Conclusion
Putting up fence panels is an achievable task that can result in a beautiful addition to your property. By following these steps—planning, marking, digging, setting posts, attaching panels, and finishing touches—you can create a robust and visually appealing fence. Remember to take your time throughout the process and always prioritize safety. With a bit of effort and attention to detail, your new fence will not only serve its purpose but also enhance the overall look of your yard. Happy fencing!


 Unity
Unity Creation
 Challenge
 Contribution


