Guide to Installing Metal Fence Posts for Optimal Durability and Stability
11 月 . 08, 2024 12:34
A Complete Guide to Fence Metal Post Installation
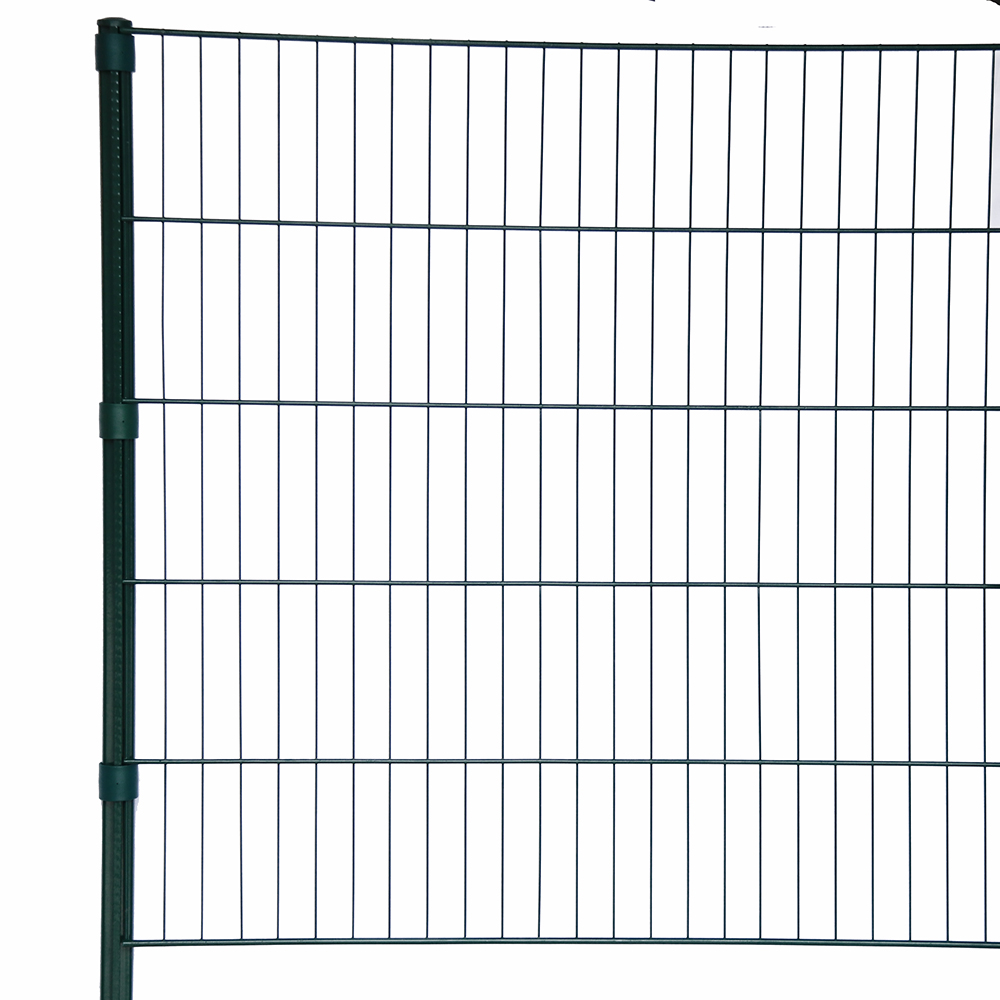
When it comes to constructing a durable and secure fence, the installation of metal posts is an essential step. Metal posts, renowned for their strength and longevity, provide a robust framework that ensures your fence can withstand the elements and resist wear over time. This article will guide you through the process of installing metal posts for your fence, ensuring that you achieve a fence that is both functional and aesthetically pleasing.
1. Gather Your Materials
Before you begin the installation process, it is crucial to gather all necessary materials and tools. You will need
- Metal fence posts (often made of steel or aluminum) - Concrete mix (for securing the posts) - Gravel (to aid drainage) - A post hole digger or auger - Level - Tape measure - String line - Marker or chalk - Safety gear (gloves, goggles)
Make sure to review local building codes as they may influence the height of your fence, the size of your posts, or other factors related to installation.
2. Plan Your Fence Line
Before starting the installation, plan the layout of your fence. Use a string line to mark where the fence will go. This gives you a clear visual guide and ensures the fence runs straight. Measure the distance between each post, which typically ranges from six to eight feet depending on the type of fencing material being used. Mark each post location with a marker or chalk.
3. Digging the Post Holes
Once your plan is settled, it’s time to dig the post holes. The depth of the holes should be about one-third the height of the post above ground, which is generally around 2 to 3 feet deep for standard fences. The diameter of the holes should be about three times the width of your metal posts. This allows ample room for concrete and gravel.
Using a post hole digger or auger, carefully excavate each hole, ensuring that the sides are straight and the bottom flat
.fence metal post installation

4. Prepare the Post Base
To aid drainage and prevent rot, it’s important to add a layer of gravel at the bottom of each hole. A few inches of gravel will help moisture escape and protect the base of your metal posts. After placing the gravel, position the metal post into the center of the hole.
5. Level the Posts
Before securing the metal posts, it is crucial to ensure they are perfectly vertical. Use a level to check that each post stands straight. Adjust as necessary by adding or removing gravel or soil. If necessary, you can brace the posts with wooden stakes to maintain their position during the pouring of concrete.
6. Pouring the Concrete
Once your posts are leveled and in place, it’s time to pour the concrete. Prepare the concrete mix according to the package instructions, then pour it into the hole around each metal post. Ensure that the concrete fills the hole completely and surrounds the post adequately.
Leave the concrete to set for at least 24 to 48 hours, depending on the weather and the type of concrete used. This will ensure that your posts are secured firmly in place.
7. Finishing Touches
After the concrete has cured, you can proceed with adding the fence panels, railing, or any other elements. Be sure to check the alignment and level of panels as you install them, ensuring everything aligns properly with your posts.
Conclusion
Installing metal posts for your fence may seem like a daunting task, but with proper planning and execution, it can be a rewarding DIY project. Strong, durable, and ultimately cost-effective, a fence with well-installed metal posts will enhance your property for years to come. Remember to take your time, check your measurements, and follow local regulations for the best results. Happy fencing!


