


Installing Fence Panels A Step-by-Step Guide
Installing fence panels can be a rewarding DIY project that enhances the aesthetics of your property while providing privacy and security. Whether you are looking to create a boundary for your garden, a safe play area for children, or simply wish to enhance your landscape, proper installation of fence panels is crucial for long-lasting results. In this guide, we will walk you through the essential steps to effectively install fence panels.
Step 1 Planning Your Fence
Before diving into the physical aspects of installation, careful planning is essential. Determine the purpose and design of your fence. Do you need a tall privacy fence, or are you looking for a decorative boundary? Next, measure the area where the fence will be installed, marking the corners with stakes. This will give you a clear visual layout. Additionally, check your local building codes and homeowner association rules, as they may have restrictions or guidelines on fence height and style.
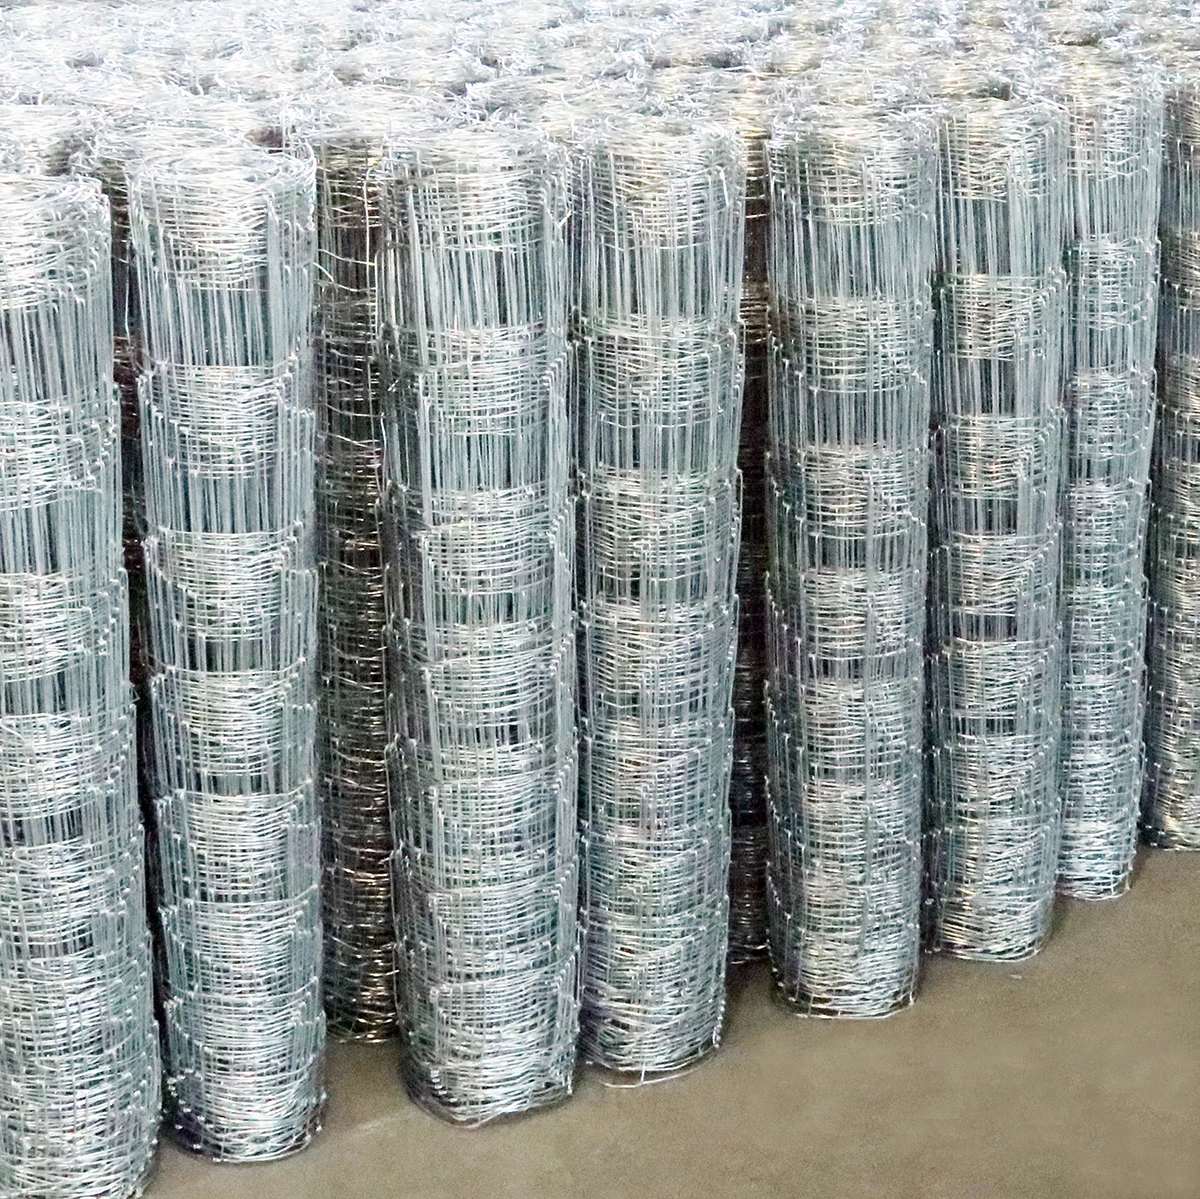
Step 2 Choosing Materials
Selecting the right materials is critical. Fence panels come in various materials, including wood, vinyl, and metal. Each material has its own pros and cons. Wooden panels offer a classic look and can be customized with paint or stain, while vinyl requires less maintenance and is resistant to rot. Metal panels, like chain link or wrought iron, provide durability and security but may lack the privacy of solid panel options. Choose materials that fit your budget, aesthetic preference, and local climate conditions.
Step 3 Gather Necessary Tools and Supplies
Once you have chosen your materials, gather the necessary tools and supplies. You will need
- Fence panels - Fence posts (typically made from wood or metal) - Concrete mix (if setting posts in concrete) - A level - A tape measure - A post hole digger or auger - A hammer or screw gun (depending on your panel type) - A saw (if adjustments are needed)

Having everything on hand before starting will make the installation process more efficient
.Step 4 Setting the Posts
Setting the posts is one of the most crucial steps. Begin by digging holes for the fence posts, typically about one-third the length of the post and spaced according to the width of your panels (usually 6 to 8 feet apart). Place a few inches of gravel at the bottom of each hole for drainage. Position the posts in the holes and ensure they are level and plumb. If using concrete, mix it according to package instructions and pour it around the posts, allowing it to cure for at least 24 hours.
Step 5 Attaching the Panels
After the posts are securely set, it’s time to attach the fence panels. Begin at one end and work your way along the line. Lift the panel into place between the posts and secure it according to the manufacturer’s instructions—this may involve using screws or brackets. Make sure each panel is level before securing it in place. Repeat this process for each panel until the entire fence is installed.
Step 6 Finishing Touches
After the panels are attached, take a step back and admire your work. You may want to add finishing touches, such as a protective sealant on wood panels or decorative caps on the posts. Regular maintenance, including cleaning and inspections, will ensure your fence remains in good condition.
Conclusion
Installing fence panels may seem daunting, but with careful planning, the right materials, and a little patience, it can be a manageable DIY project. Your new fence will not only enhance your property’s appearance but also provide a sense of privacy and security. Happy fencing!

 Unity
Unity Creation
 Challenge
 Contribution
Copyright © 2025 Hebei Minmetals Co., Ltd. All Rights Reserved. Sitemap | Privacy Policy