Rolling Gate Installation Guide for Chain Link Fences and Best Practices
Dez . 24, 2024 18:23
Chain Link Rolling Gate Installation A Comprehensive Guide
When it comes to securing your property, installing a chain link rolling gate can be an efficient and practical solution. These gates offer a combination of security, accessibility, and durability. Whether you're a homeowner, a business owner, or managing a facility, understanding the installation process of a chain link rolling gate can help ensure that it operates smoothly and meets your security needs. This article provides a detailed guide on how to install a chain link rolling gate.
Tools and Materials Needed
Before you start the installation process, make sure you have all the necessary tools and materials. Here’s a list of what you will need
- Gate Materials Chain link fabric, galvanized steel posts, top rail, bottom track, and gate hardware. - Tools Tape measure, level, drill, saw (if needed), wrench set, and fence post digger or auger. - Concrete For securing the posts in place, quick-setting concrete is recommended. - Safety Gear Gloves, goggles, and hard hats to ensure safety during the installation process.
Step-by-Step Installation Process
1. Planning and Measurement Start by deciding the location of your gate. Measure the width of the opening where the gate will be installed. Determine the desired height of the gate, typically between 4 to 6 feet is ideal for residential properties.
2. Post Placement Use the tape measure to mark the positions for your gate posts. The posts should be placed on either side of the opening. Dig post holes at least 2 feet deep to ensure stability. The width of the holes should be approximately three times the post diameter to allow plenty of room for concrete.
3. Install Gate Posts Insert the galvanized steel posts into the post holes. Use a level to ensure they are perfectly vertical. Mix your concrete according to the package instructions and pour it into the holes around the posts. Allow the concrete to set according to the manufacturer’s recommendations, typically 24 to 48 hours.
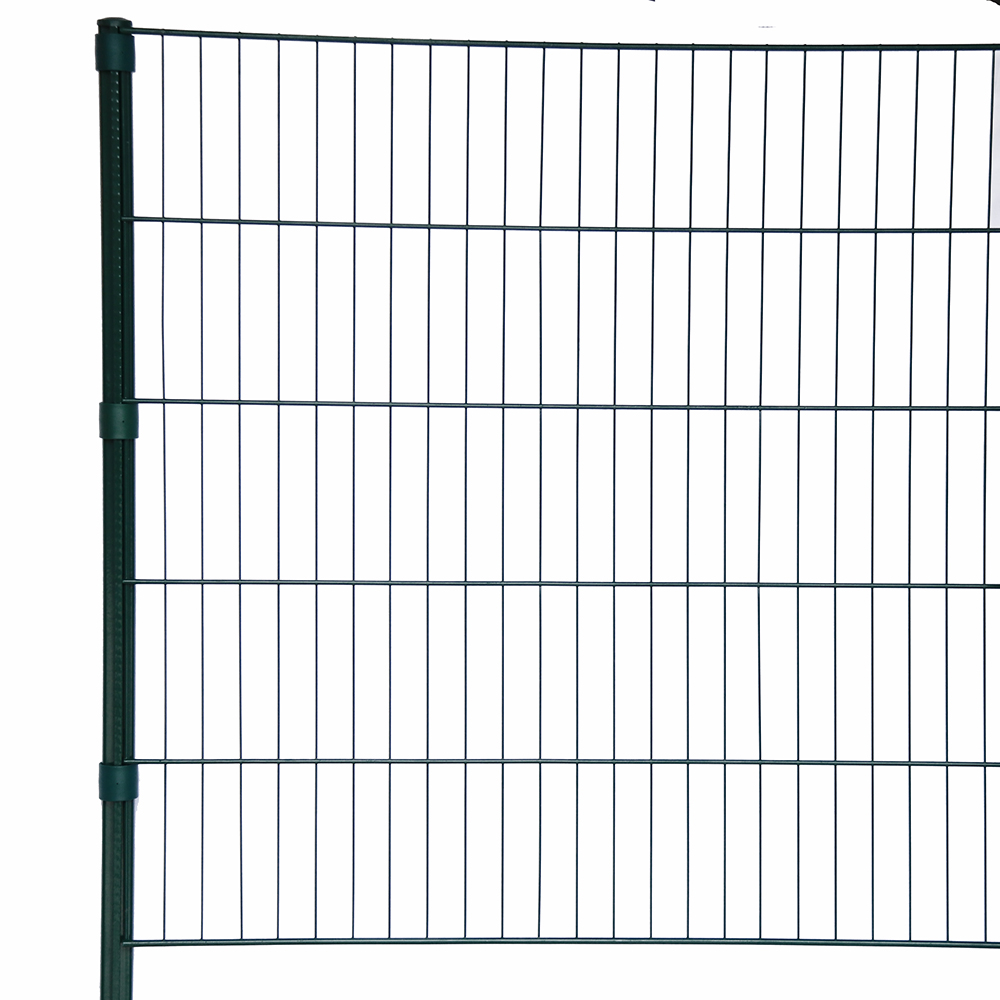
chain link rolling gate installation

4. Add the Bottom Track Once the posts are securely in place, you will need to install the bottom track. This may require cutting the track to align perfectly with your posts. Ensure that the track is level and flush with the ground to allow the gate to roll smoothly.
5. Attach the Top Rail Attach the top rail connector to the top of each post, and insert the top rail between the posts. This rail adds stability and provides a framework for the chain link fabric to attach.
6. Attach the Chain Link Fabric Unroll the chain link fabric, and carefully lift it onto the framework you have created. Use tension bands to secure the fabric to the terminal posts. Pull the fabric tight and attach it using wire ties, ensuring that it remains taut for ease of operation.
7. Install the Gate Hardware This stage involves attaching the roller brackets to the top of the gate. Ensure that they are securely fastened. Next, install the gate handle and latch on the end of the gate that will be stationary.
8. Final Checks After completing the installation, perform a comprehensive check. Open and close the gate several times to ensure it rolls smoothly along the track without any obstruction. Adjust the tension of the chain link fabric if necessary for optimal performance.
Maintenance Tips
To keep your chain link rolling gate in good condition, regular maintenance is key. Check the tracks for debris, lubricate the rollers, and inspect the hardware for any signs of wear or rust. Cleaning the gate periodically can also help prevent corrosion and maintain its appearance.
Conclusion
Installing a chain link rolling gate can significantly enhance the security and accessibility of any property. Following these steps not only helps you achieve a successful installation but also ensures that your gate will function effectively for years to come. As always, if you feel uncertain about any part of the installation process, don’t hesitate to consult with a professional for assistance.


