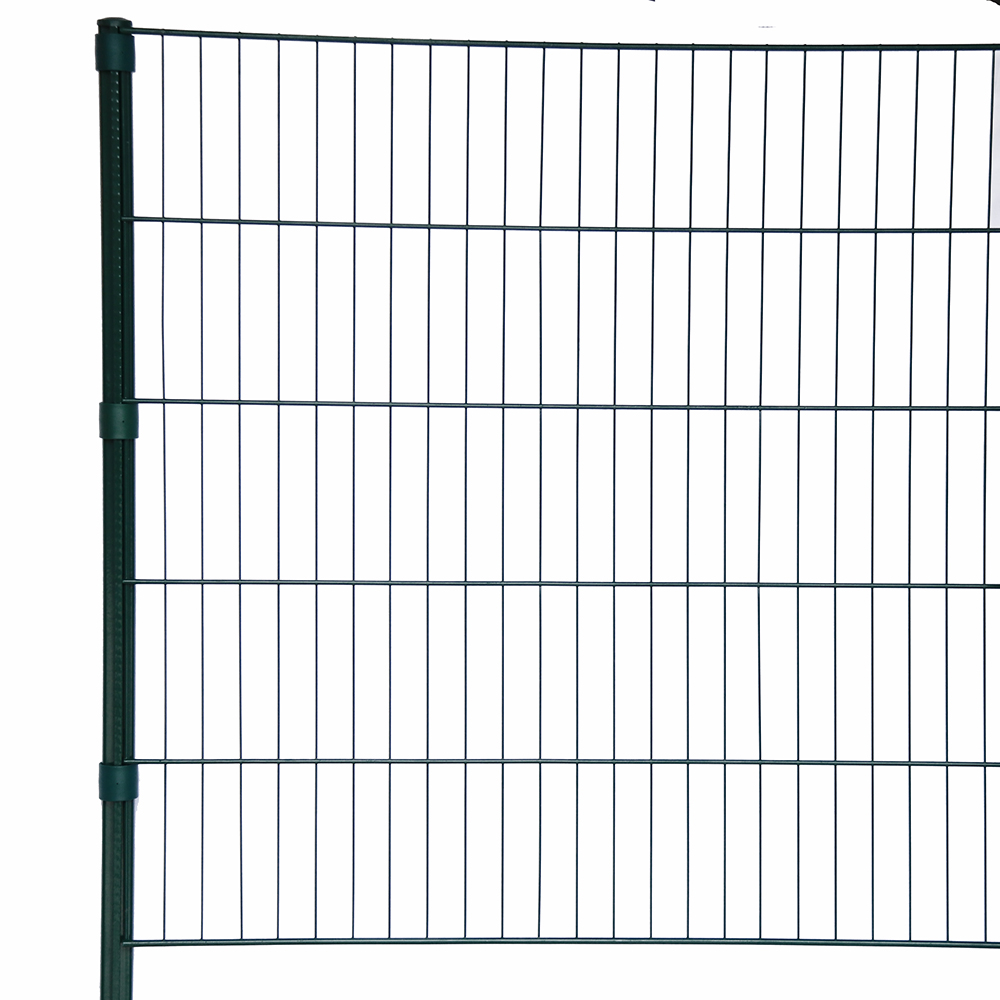
Installation Guide for Metal Posts with Essential Tips and Techniques for a Secure Setup
Aug . 14, 2024 23:42
Metal Post Installation A Comprehensive Guide
When it comes to building or renovating a property, metal posts can be a critical component for various structures, from fences and gates to decks and pergolas. Metal posts offer durability, strength, and resistance to the elements, making them an excellent choice for both residential and commercial applications. This article will guide you through the essential aspects of metal post installation, ensuring a successful project.
Benefits of Metal Posts
Metal posts, often made from steel or aluminum, provide numerous advantages. First and foremost, their durability surpasses that of wood, preventing issues like rotting, warping, or insect damage. Additionally, metal posts can support heavier loads and withstand harsh weather conditions, such as strong winds and heavy snowfall. They also require less maintenance, making them a cost-effective choice in the long run. Furthermore, with various finishes available, metal posts can complement any design aesthetic, whether modern or traditional.
Preparing for Installation
Before diving into the installation process, proper planning is crucial. Begin by determining the purpose of the metal posts. Are they supporting a fence, a deck, or another structure? This will dictate the size, height, and spacing of your posts. Next, measure and mark the installation spots, ensuring they are evenly spaced and align with your design plan. It is also advisable to check local building codes or regulations, as some areas may have specific requirements concerning post installations.
Tools and Materials Needed
To install metal posts, you will need several tools and materials
- Metal posts (appropriate size and type for your project) - Concrete mix or post anchors, depending on the application - A shovel or post hole digger - Level - Measuring tape - Gloves and safety goggles - A hammer or mallet - A wrench or socket set for bolts
metal post installation

Installation Process
1. Digging the Post Holes Start by digging holes for your metal posts. The depth of the holes should typically be one-third of the post's height above ground, although this may vary based on local regulations. Ensure that the holes are wider than the posts for stability.
2. Setting the Posts Place the metal post in the hole, ensuring it is vertically aligned. Use a level to check the post's upright position. If you are installing multiple posts, it is essential to maintain uniform height across all posts.
3. Pouring Concrete If using concrete, mix it according to the manufacturer's instructions and pour it into the hole around the post. Ensure the concrete surrounds the post evenly. For post anchors, secure the posts with bolts and follow the manufacturer’s specifications.
4. Curing Allow the concrete to cure according to the instructions, usually requiring at least 24 to 48 hours. This step is crucial for ensuring stability and strength in your installation.
5. Finishing Touches Once the concrete has cured, you can finish the installation by attaching any brackets, rails, or additional components required for your specific project.
Conclusion
Installing metal posts can seem challenging, but with proper planning and the right tools, it can be a straightforward process. The strength and durability that metal posts provide will add value and longevity to your structures. By following the steps outlined above, you’ll be well on your way to a successful metal post installation that not only meets your needs but also stands the test of time. Whether you're a DIY enthusiast or hiring professionals, understanding the process can help you make informed decisions for your home or business.


