installing garden fence with u posts
Feb . 05, 2025 03:34
Installing a garden fence using U posts can be a rewarding DIY project. Designed for durability and ease of use, U posts provide a solid foundation for various types of fencing. This article will guide you through the process, drawing from real-world experiences, expert advice, and trustworthy practices to ensure your garden fence stands strong for years to come.

The choice of U posts for garden fencing is strategic. These posts offer a good balance between stability and affordability, making them ideal for both beginners and experienced DIY enthusiasts. U posts are also galvanized, which prevents rust and extends the life of your fence, a critical factor considering the outdoor environment in which they'll be used.
Before embarking on your project, gather your materials. You'll need U posts appropriate for the height of your fence, fencing material (such as wire or mesh), post clips or ties, a post driver, a tape measure, a level, and a few basic tools like a hammer and pliers. Safety gear, including gloves and goggles, is also recommended to protect against any mishaps during installation.

Begin by determining the layout of your fence. Use the tape measure to mark the locations where each U post will be installed; typically, they should be spaced about 6 to 10 feet apart, depending on the terrain and fence type. Mark these spots with spray paint or flags to serve as a guide during installation.
Driving the U posts into the ground is the next step. Using a post driver, which is far more effective than a sledgehammer, carefully drive each U post into the ground at your marked spots. Ensure they are aligned and that each one is driven to approximately the same depth for uniformity. The post’s flat side should face towards the direction the pressure will come from, typically the outside of the fence. This positioning enhances the strength and effectiveness of the fence in standing firm against wind and external forces.
installing garden fence with u posts
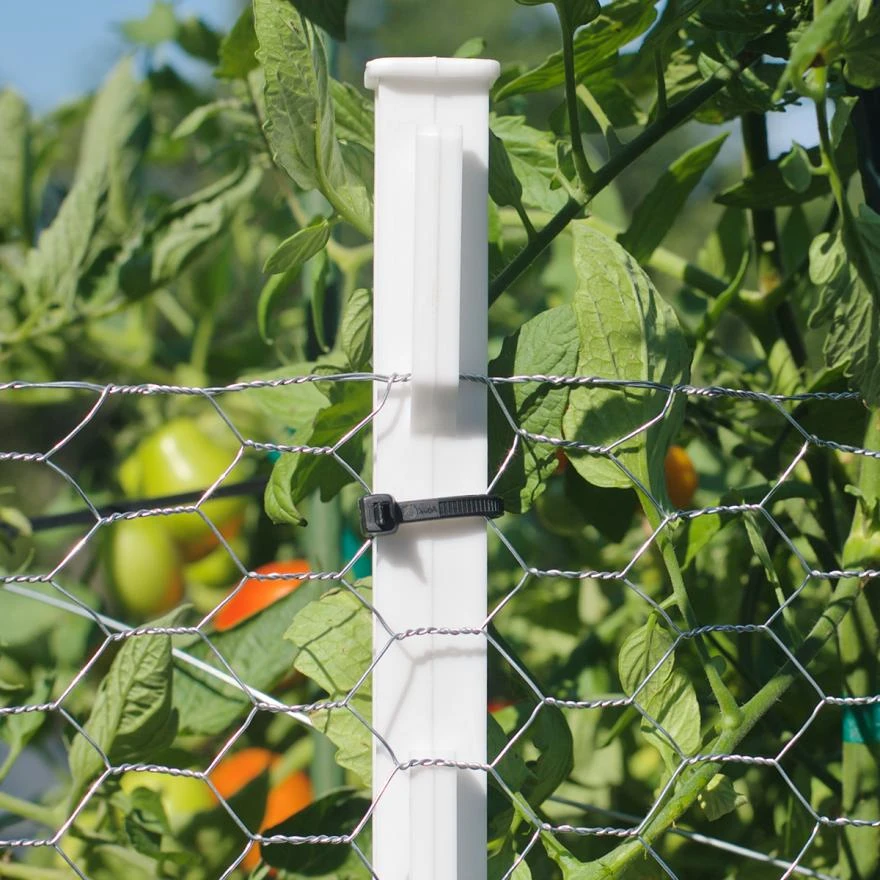
Once all your U posts are in place, it's time to attach the fencing material. Start at one end of your fence line and unroll your fencing. Begin by attaching the fencing to the first post using post clips or ties. Clamps should be secured every 12-18 inches along each post, ensuring the fence is taut and even. A level can be invaluable here to maintain consistency in height and tension.
While attaching the fencing, pay close attention to corners and gates, as these areas often require additional support (corner bracing) to maintain structural integrity. Experts suggest opting for diagonal bracing at corners to reduce strain on these posts and ensure longevity.
After successfully hanging the fencing material, inspect the entire fence to ensure there are no loose sections or protruding wires that could cause injury or damage. Trim any excess material for a neat appearance and check the stability of each post. Make any necessary adjustments, re-tension areas if needed, and trim away any excess ties or wire ends that might be hazardous.
Maintenance of your newly installed fence is straightforward. Regularly inspect for damage or rust, particularly if your garden sees heavy weather. A quick check after severe storms can catch any issues early before they escalate into more significant problems.
In conclusion, installing a garden fence with U posts is a practical option for those looking to blend functionality with aesthetic appeal. Leveraging expert techniques and practical, real-world advice ensures not only a sturdy and reliable garden barrier but also adds value to your property. Whether you're keeping pets in or pests out, this method provides a secure, long-lasting solution tailored to meet diverse needs.