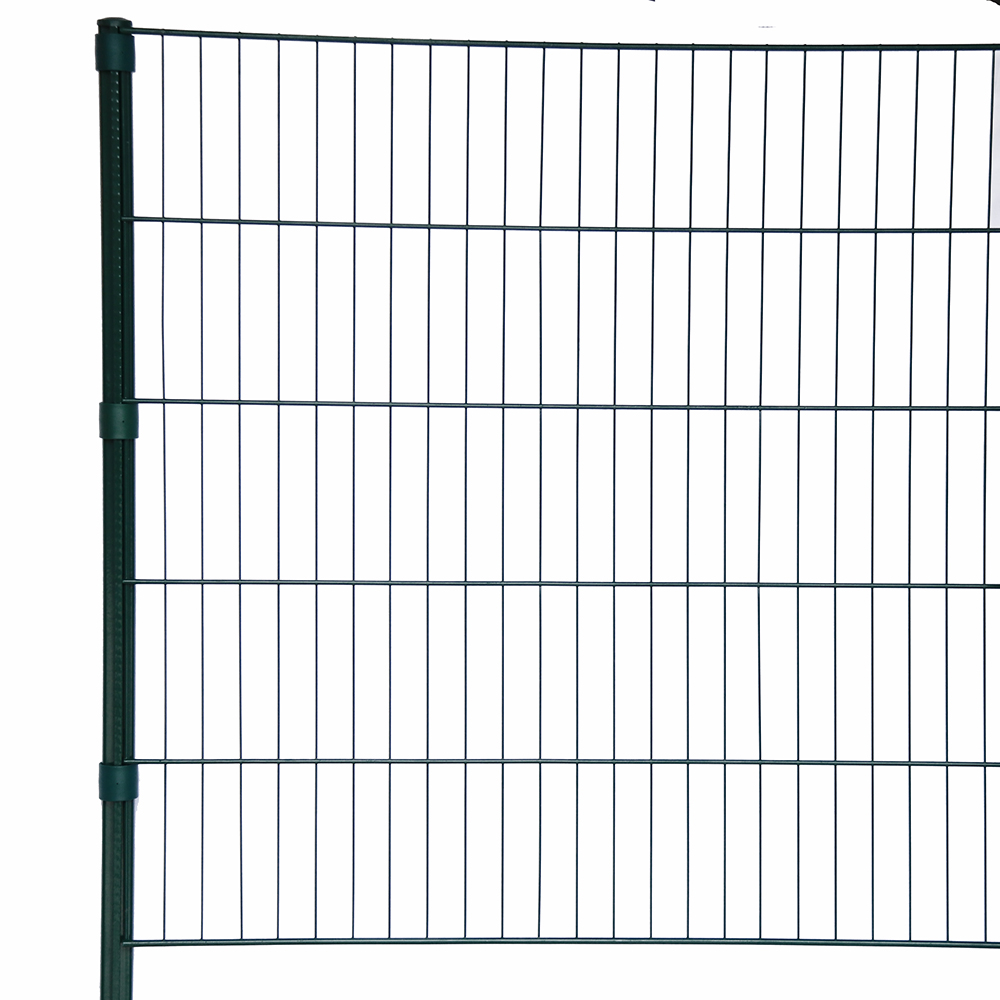
installing metal edging for landscaping
Nov . 14, 2024 19:04
Installing Metal Edging for Landscaping A Comprehensive Guide
Metal edging is an excellent choice for landscaping, providing a sleek, modern look while offering durability and functionality. Whether you’re creating flower beds, pathways, or defining garden borders, metal edging can help you achieve clean lines and protect your landscape elements. In this article, we will walk you through the process of installing metal edging, highlighting the necessary tools, materials, and steps to complete your project successfully.
Why Choose Metal Edging?
Metal edging stands out from traditional wood or plastic alternatives due to its strength and longevity. It’s resistant to rot, decay, and insect damage, which makes it an ideal choice for any climate. Metal edging doesn’t warp or fade over time, ensuring that your landscaping will look great for years to come. Moreover, it can withstand the pressure of soil and water, making it the perfect barrier for gardens, driveways, and pathways.
Tools and Materials Needed
Before you start the installation, gather the following tools and materials
1. Metal edging strips (available in various heights and finishes) 2. Landscape stakes or spikes 3. A hammer or mallet 4. Metal saw (if adjustments to the edging length are necessary) 5. Shovel or spade 6. Level (to ensure evenness) 7. Measuring tape 8. String and stakes (for layout) 9. Safety gloves and goggles
Step-by-Step Installation Process
1. Plan and Mark Your Design Start by outlining the area where you want to install the edging. Use string and stakes to mark the borders, ensuring that your design reflects the desired shape and configuration. Consider how the edging will complement existing landscaping features.
installing metal edging for landscaping

2. Prepare the Area Once you have marked your design, remove any grass, weeds, or debris from the area where the edging will be placed. Use a shovel or spade to dig a trench about two inches deep. The trench should be slightly wider than the metal edging, allowing for an easy fit.
3. Cut the Edging to Size If your metal edging strips are longer than needed, use a metal saw to cut them to the appropriate length. Always wear safety goggles and gloves while cutting to protect yourself from sharp edges.
4. Install the Metal Edging Place the metal edging into the trench, ensuring that the top of the edging is level with the surrounding soil. Use a level to confirm that the edging is straight and evenly positioned.
5. Secure the Edging Drive landscape stakes into the ground at regular intervals along the edging to hold it in place. Use a hammer or mallet to push the stakes securely into the soil. The tops of the stakes should be flush with the metal edging to maintain a clean look.
6. Backfill and Compact After securing the edging, backfill the trench with soil to stabilize the edging further. Compact the soil around the edging to ensure it remains firmly in place and does not shift over time.
7. Final Touches Once the edging is installed, you can add mulch or gravel to enhance the appearance of your garden beds. This final touch not only looks great but also helps suppress weeds and retain moisture in the soil.
Conclusion
Installing metal edging is a straightforward project that can dramatically enhance the aesthetics and functionality of your landscape. With proper planning and execution, you can create beautiful, defined spaces in your garden that last for years. Whether you are a seasoned gardener or a DIY novice, this project is an excellent way to elevate your landscaping and create a lasting impression.


