installing u post
Okt . 07, 2024 09:08
Installing U Post A Comprehensive Guide
U Post, a popular product for various utility applications, has gained attention for its ease of use and versatility. Whether you are looking to install it for fencing, gardening applications, or as part of a larger construction project, the installation process can be straightforward if you follow the right steps. This article will guide you through the essential aspects of installing U Post effectively.
Understanding U Post
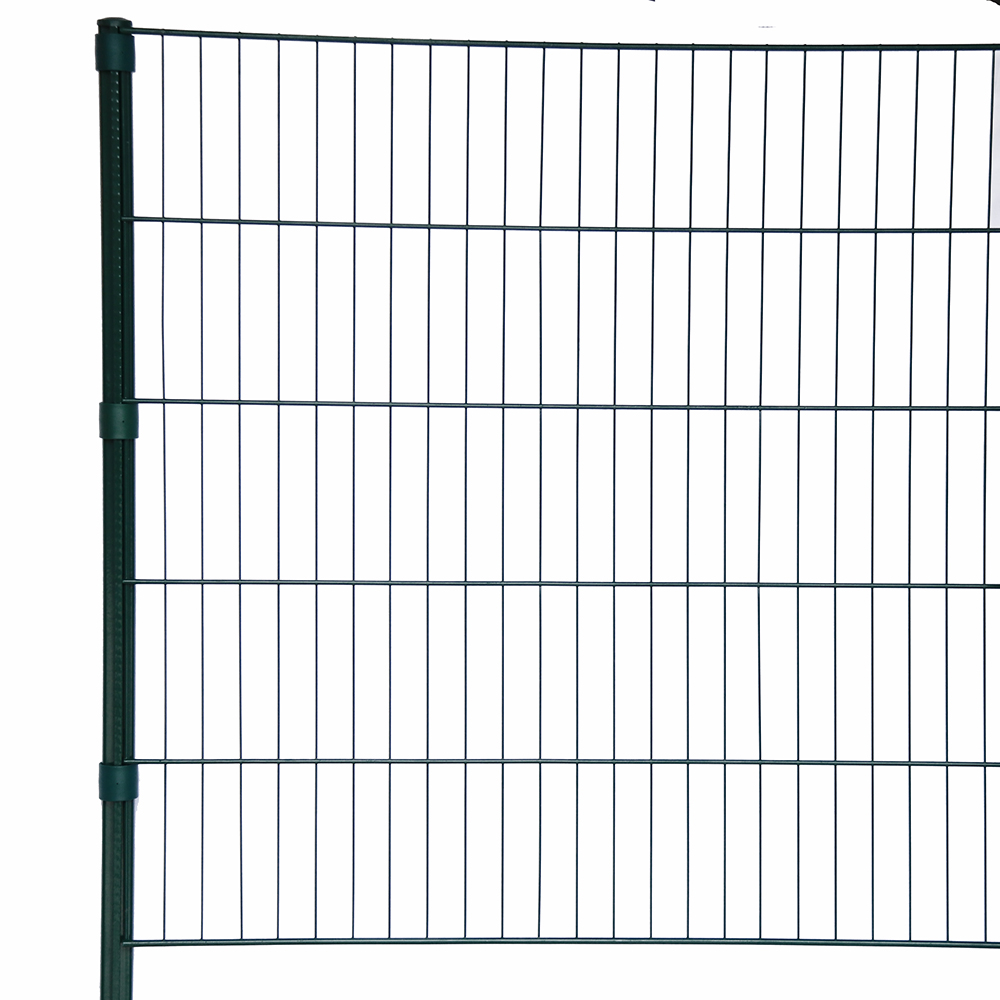
Before diving into the installation process, it's essential to understand what U Post is. U Post is a type of fencing post that features a U-shaped design, making it suitable for a variety of applications, especially in agricultural settings. The U shape provides strength while allowing for easy installation and the anchoring of wires or nets.
Tools and Materials Required
Before you begin your installation, gather the necessary tools and materials
1. U Posts The quantity will depend on your project size. 2. A post driver or hammer To drive the posts into the ground. 3. Measuring tape To ensure proper spacing between posts. 4. Level To check the vertical alignment of the posts. 5. Wire cutter/stripper If you plan to attach wire fencing. 6. Safety gear Gloves and goggles for protection.
Step-by-Step Installation Process
1. Planning and Measurement Start by laying out your project area. Use a measuring tape to determine where each U Post will go. Depending on your fencing needs, spacing can range from 6 to 10 feet. Mark each intended post location with stakes or flags.
installing u post

2. Digging Holes (if necessary) While U Posts can sometimes be driven directly into the ground, you may need to dig shallow holes (about a foot deep) in hard or rocky soil. This step will help the posts anchor better.
3. Driving the Posts Using a post driver or hammer, drive the U Post into the ground at the marked spots. Ensure that the U shape is oriented correctly, as this will provide stability when attaching any fencing or wires. If you are using a post driver, aim for even, consistent blows to avoid bending the post.
4. Checking Alignment After installing each post, use a level to check that it is vertical. Adjust as necessary before the post sets in the ground, as it may be challenging to correct once the post is firmly in place.
5. Attaching Fencing or Wires Once all posts are installed and aligned, it's time to attach your fencing or wires. For wire fencing, start by fastening the wire at one end and gradually stretching it to the next post. Secure it tightly but avoid stretching it excessively, which could cause damage.
6. Final Checks and Adjustments After all posts and fencing are in place, walk along the line to check for any loose areas or alignment issues. Make any necessary adjustments and ensure that all components are securely fastened.
Maintenance
After installation, regular maintenance is crucial to prolong the lifespan of your U Post fencing. Check periodically for rust, loose wires, or shifting posts, especially after significant weather events. Promptly addressing these issues can help prevent larger problems down the line.
Conclusion
Installing U Post can be a manageable task with the right tools and techniques. By following the steps outlined above, you will ensure a sturdy and effective installation that meets your needs. Whether for property borders, animal enclosures, or decorative purposes, U Post offers a practical solution that stands the test of time. With proper care and maintenance, your investment in U Post will pay off for years to come.


