Installing a Chicken Wire Fence for Your Garden or Backyard
Dez . 10, 2024 19:11
Putting Up Chicken Wire Fence A Practical Guide
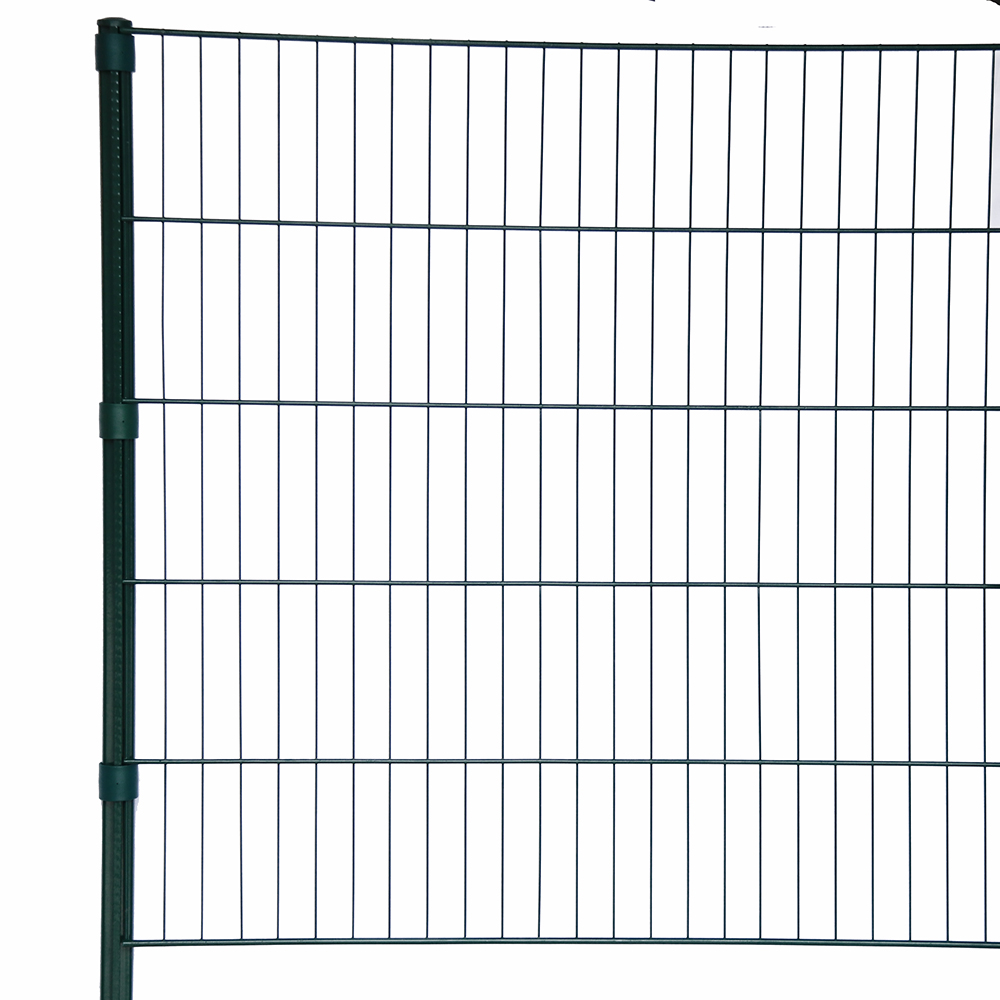
If you're a gardener or a homeowner looking to protect your precious plants or backyard chickens, installing a chicken wire fence might be the perfect solution. Not only is chicken wire an economical choice, but it also provides a level of visibility that allows you to keep an eye on your flock or garden from a distance. In this article, we’ll explore step-by-step how to put up a chicken wire fence effectively, ensuring durability and functionality while highlighting safety and aesthetics.
Why Choose Chicken Wire?
Chicken wire, also known as poultry netting, is a type of wire mesh that is commonly used for enclosures. Its design makes it effective for keeping birds and small animals contained while allowing light and air to reach your plants or flock. One of the major advantages of chicken wire is its affordability and ease of use compared to more solid fencing types.
Materials You'll Need
1. Chicken Wire Determine the height and length you require based on your property and how you plan to use the fence. 2. Fence Posts These could be wooden, metal, or recycled materials. The height and distance between posts will depend on the layout of your fence. 3. Post Hole Digger or Auger For creating holes for the fence posts. 4. Nails or Fence Staples To secure the chicken wire to the posts. 5. Wire Cutters For cutting the chicken wire to size. 6. Hinge and Latch (optional) If you wish to install a gate for easy access.
Step-by-Step Guide to Installing Chicken Wire Fence
1. Planning Your Fence Layout
Before you begin any digging, you should plan where your fence will go. Measure the area and mark the corners with stakes. Consider the size of your enclosure and ensure the fence will be high enough to keep chickens in and predators out. A height of at least four to six feet is generally recommended.
2. Setting the Fence Posts
Using a post hole digger, dig holes for your fence posts. The depth of the holes should be about one-third of the height of the post to ensure stability. If you're using wooden posts, consider treating them with a wood preservative to prevent rot. Place the posts in the holes, making sure they are straight and level, and then fill the holes with concrete or soil, tamping it down firmly to hold them in place.
putting up chicken wire fence

Starting at one corner, unroll the chicken wire along the first side of the fence. Use wire cutters to cut the wire to the desired length. Pull it taut and attach it to the fence posts with nails or fence staples at evenly spaced intervals (about 12 to 18 inches apart). Make sure the wire is securely fastened to prevent sagging.
4. Reinforcing the Bottom
To deter burrowing animals, consider burying the bottom of the chicken wire a few inches into the ground or extending it outward at the base in a horizontal fashion like an apron. This will help prevent animals from digging their way under the fence.
5. Creating a Gate
If your fence requires access, create a gate using a wooden frame and more chicken wire. Attach it securely to a post using hinges, and install a latch to keep it closed. Ensure the gateway is wide enough for your needs, whether for a wheelbarrow or for accessing your chickens easily.
Maintaining Your Fence
After installation, regular checks are essential to ensure everything remains secure. Look for any signs of wear or damage, and repair the wire promptly to maintain the integrity of your fence.
Conclusion
Putting up a chicken wire fence is an accessible and effective way to protect your garden and livestock. With the right materials and a little bit of effort, you can create a functional barrier that enhances your property’s safety and charm. Whether you’re keeping your chickens in or pests out, following these steps will lead you to a successful fencing project, allowing you to focus on enjoying your garden or caring for your flock!


