Installing Welded Wire Fence on Uneven Ground | Step-by-Step Guide
9月 . 05, 2024 03:36
Installing Welded Wire Fence on Uneven Ground
Installing a welded wire fence can be a straightforward task in ideal conditions, but when faced with uneven ground, additional considerations come into play. This type of fencing is popular due to its durability and versatility, making it an excellent choice for many applications, including gardens, livestock enclosures, and property boundaries. When tackling installation on uneven ground, here are some steps and tips to ensure a successful project.
1. Planning and Preparation
Before starting the installation, take time to assess the area where the fence will be placed. Walk the perimeter and note all changes in elevation. This preliminary evaluation will help you determine how to accommodate dips and rises in the terrain. Use a measuring tape to establish the total length of the fencing needed and mark the corner posts' positions with stakes or paint.
2. Choosing the Right Fence Height
When dealing with uneven ground, the fence height may need adjustments at various points to maintain a level appearance and effective security. Decide on a uniform height that works best across the terrain, keeping in mind that you can bury some sections deeper in the ground or raise posts where necessary. A height of at least 4 to 6 feet is advisable for livestock or garden protection.
Begin by installing the corner and line posts. Corner posts should be buried deeper than line posts—typically 2 to 3 feet, depending on the height of the fence. For uneven ground, consider using a string line to help guide the installation of the posts. Adjust the posts progressively to follow the contours of the land. If you encounter an area that dips significantly, you may need to elevate the post itself or utilize fencing panels that can flex slightly with the contour of the land.
installing welded wire fence on uneven ground

4. Attaching the Welded Wire
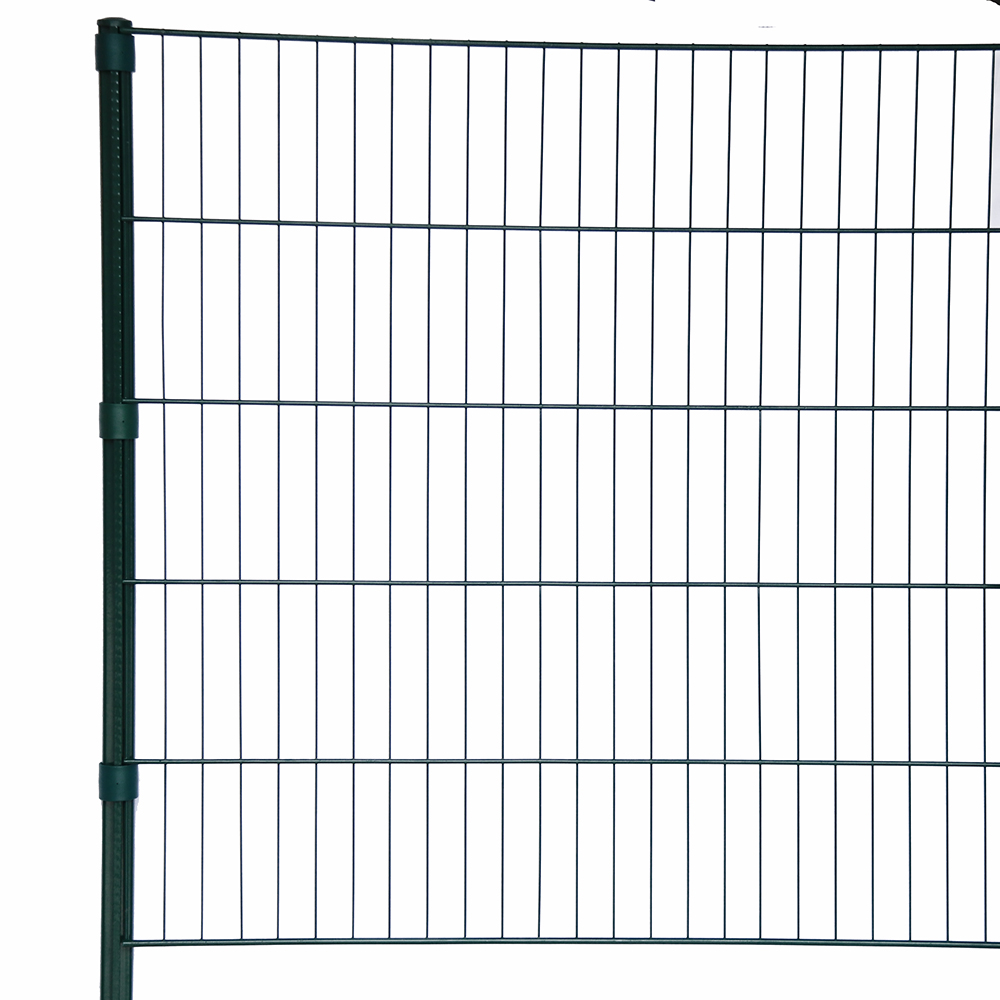
Once the posts are securely in place, it’s time to attach the welded wire. Start at one end and unroll the wire along the fence line. Make sure the bottom of the wire is close to the ground to prevent small animals from digging underneath. If the ground rises or dips, gently stretch the wire to follow the contour, ensuring it’s anchored to the posts securely. Use fencing staples or wire ties to attach the welded wire to the posts at intervals of about 12 to 18 inches.
5. Adjusting for Uneven Terrain
As you move along the fence line, continuously check that the wire maintains a tight and even installation. You can configure temporary supports if the ground makes it challenging to keep the wire taut. If there are steep slopes, consider using a technique called “step-down,” which involves adjusting the wire's position in steps, following the ground's elevation changes. This method creates a secure barrier while maintaining an aesthetically pleasing appearance.
6. Final Touches
After attaching the wire, go down the line one last time to ensure everything is secure and adjust any areas where the wire may sag or pull away from the posts. It may be necessary to add tension to the wire if it feels loose. Once you're satisfied, trim any excess wire and ensure that all posts are properly capped.
Conclusion
Installing a welded wire fence on uneven ground requires careful planning and execution. By taking the time to assess the site and adjusting your installation techniques, you can create a functional and attractive fence that meets your needs. With the right preparation and a bit of ingenuity, even the most uneven terrain can be tamed and secured.


