


Installing Metal Lawn Edging A Comprehensive Guide
Creating a beautiful and well-defined landscape in your yard requires a little planning and the right materials. One of the most effective ways to achieve this is by installing metal lawn edging. This durable and stylish option not only helps to delineate flower beds, pathways, and lawns but also adds an elegant touch to your outdoor space. In this article, we will guide you through the process of installing metal lawn edging, ensuring you achieve a polished and professional look in your yard.
Why Choose Metal Lawn Edging?
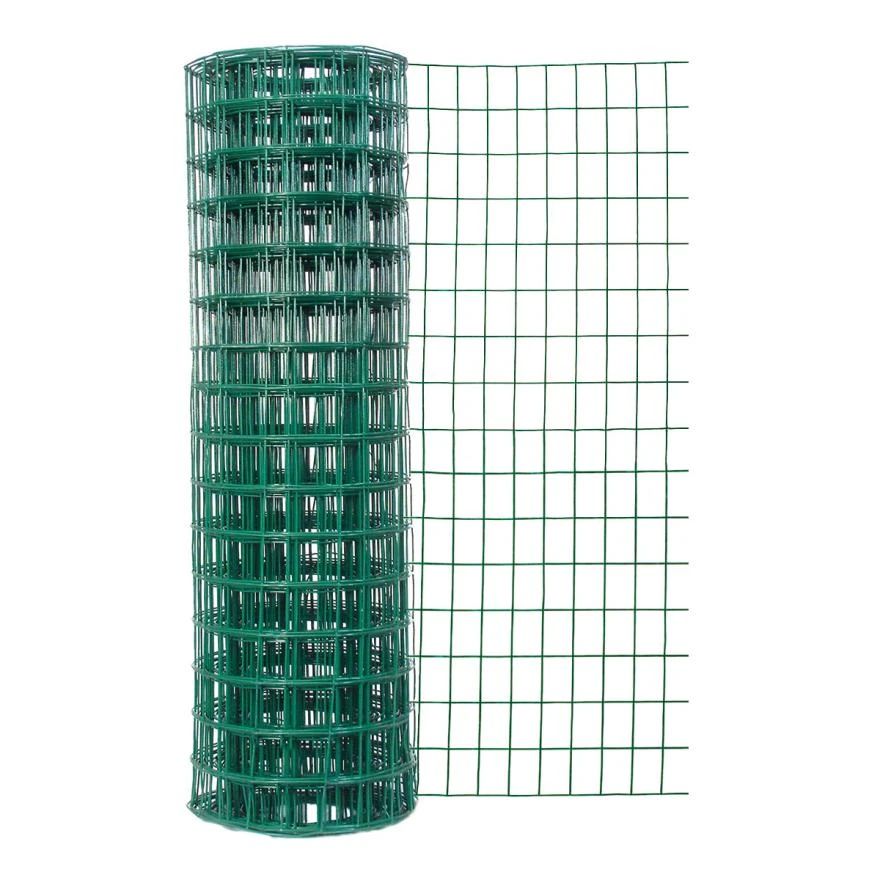
Metal lawn edging has gained popularity among homeowners due to its durability, versatility, and aesthetic appeal. Unlike plastic or wooden edging, metal is resistant to rot, rust, and extreme weather conditions, making it an ideal choice for long-term use. Additionally, metal edging is available in various styles, including galvanized steel, aluminum, and corten steel, each offering unique visual appeal. The sleek, modern look of metal edging can instantly elevate the design of your garden or landscape.
Tools and Materials Needed
Before starting the installation process, gather the necessary tools and materials
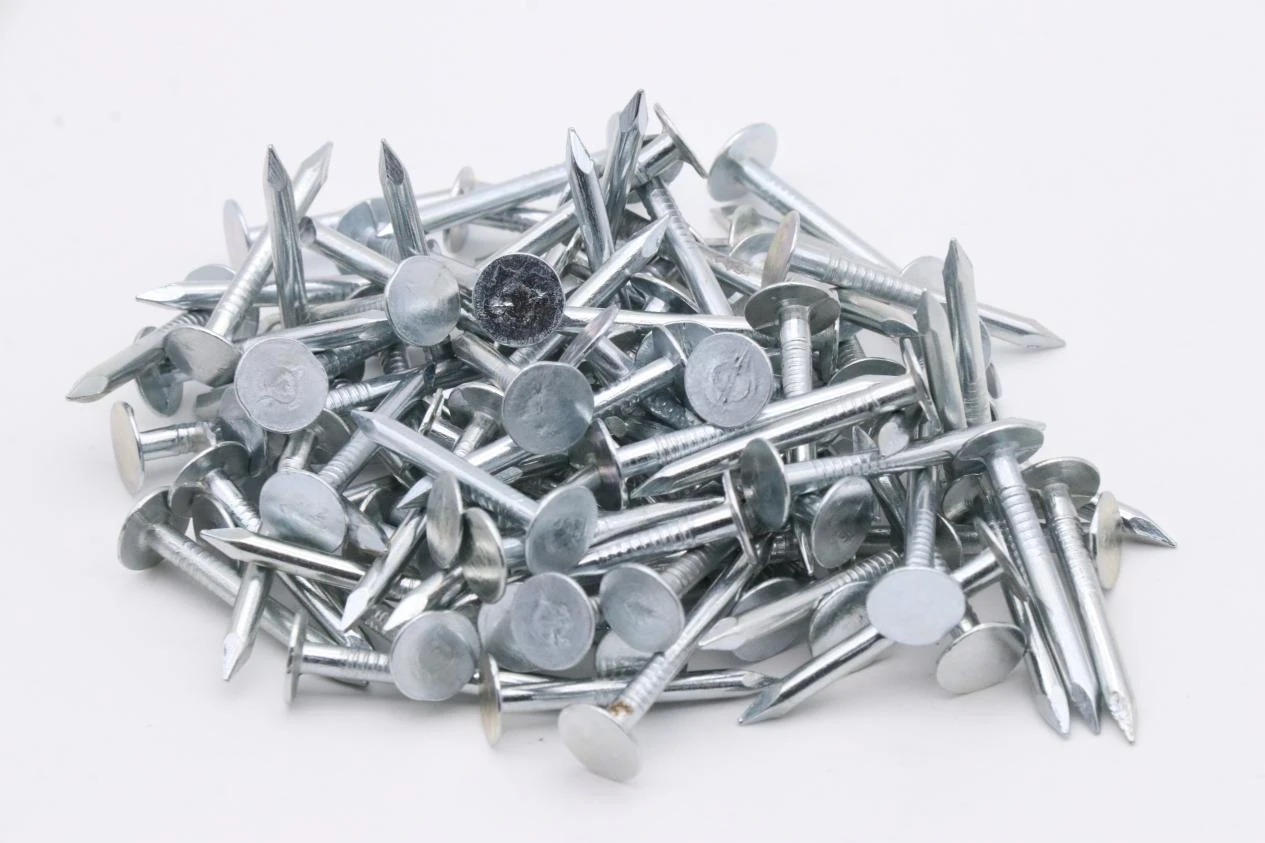
- Metal lawn edging sheets or strips - A shovel or spade - A hammer or rubber mallet - A level - A measuring tape - Landscape fabric (optional) - Soil or mulch (for securing the edging)
Step-by-Step Installation Process
Step 1 Plan Your Design
Begin by deciding where you want to install the metal edging. Taking the time to plan your layout will help achieve a well-structured design. Use a garden hose or string to mark the desired path and shape of the edging. This will greatly assist you in visualizing how it will look once installed.
Step 2 Measure and Mark

Once your design is planned, measure the lengths of the edging required. Make sure to account for any curves or angles in your design. Use stakes to mark the start and endpoints along your desired path. This clarity will help guide your installation.
Step 3 Prepare the Area
Use a shovel or spade to remove grass, weeds, or debris from the area where the edging will be installed. Aim to create a trench that is slightly deeper than the height of your metal edging. This preparation ensures the edging sits firmly in the ground and reduces the risk of shifting over time.
Step 4 Insert the Edging
Starting at one end of your marked path, drive the metal edging into the trench, using a hammer or rubber mallet to ensure it is secure. As you work along the path, maintain a level and uniform height. If your edging has connectors, be sure to follow the manufacturer’s guidelines for assembling the pieces together properly.
Step 5 Secure the Edging
Once the metal edging is in place, fill in the trench with soil or mulch around the edging to secure it firmly. This additional support prevents movement and keeps the edging stable. Alternatively, landscape fabric can be laid down before backfilling to help prevent weed growth around your newly installed edging.
Step 6 Finish and Maintain
After installation, take a step back and review your work. The edging should be straight and level, with no visible gaps. Regular maintenance includes keeping the area around the edging clear of debris and checking for any shifting over time. This will help preserve the visual appeal and functionality of your metal lawn edging.
Conclusion
Installing metal lawn edging can significantly enhance the look of your landscape while providing a practical solution for maintaining clean lines in your garden. With the right tools and a little preparation, you can install edging that will stand the test of time. Whether you choose a galvanized finish for a modern look or corten steel for a rustic appeal, metal lawn edging is an investment in both beauty and durability for your outdoor space.

 Unity
Unity Creation
 Challenge
 Contribution
Copyright © 2025 Hebei Minmetals Co., Ltd. All Rights Reserved. Sitemap | Privacy Policy