


The Ultimate Guide to Installing a Wire Closet Organizer
When it comes to home organization, few areas benefit from structured planning quite like closets. A wire closet organizer is a fantastic solution for maximizing space and efficiency, allowing you to keep your belongings neatly arranged and easily accessible. In this article, we’ll walk you through the installation process step-by-step, so you can transform your closet into an organized oasis.
Why Choose a Wire Closet Organizer?
Wire closet organizers are popular for several reasons
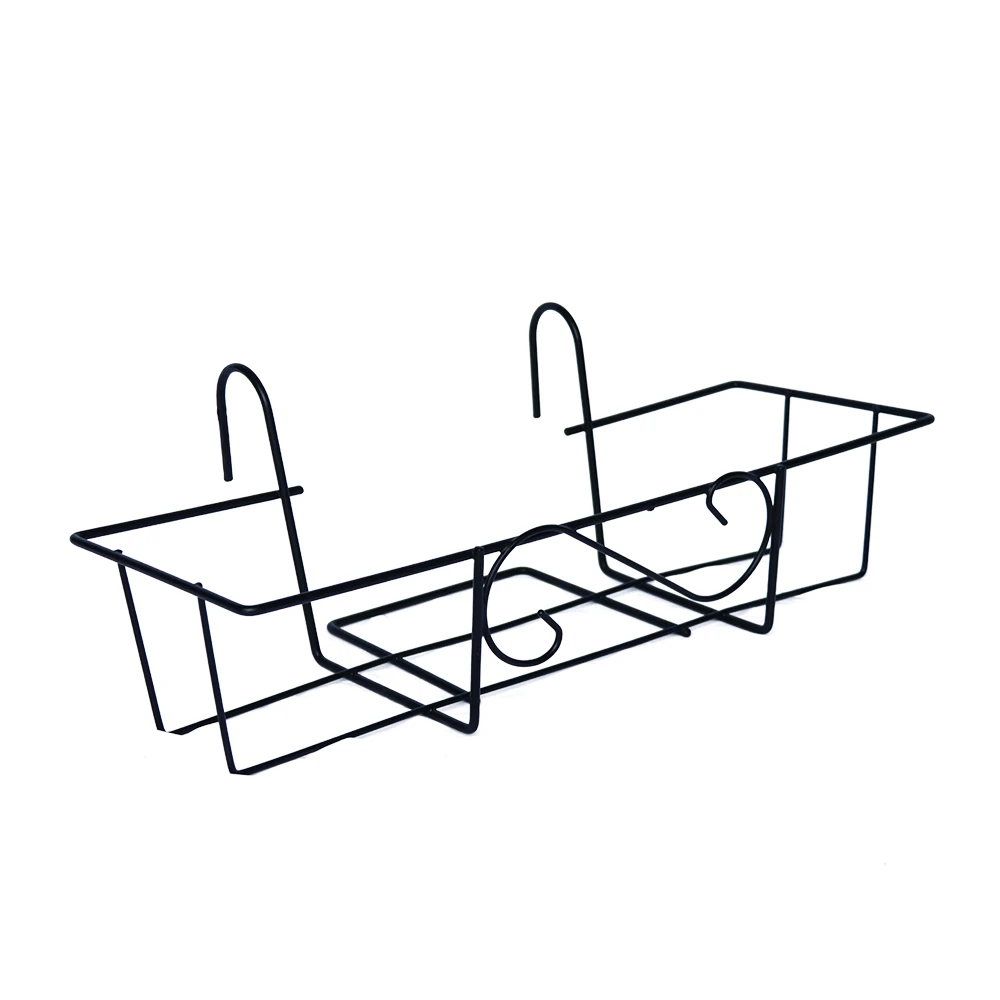
1. Ventilation Unlike solid shelving, wire shelves allow air circulation, which helps to keep your clothes fresh and minimizes odors. 2. Visibility The open design makes it easier to see your items at a glance, saving you time in your daily routine. 3. Customizability They come in various sizes and configurations, enabling you to tailor them to your specific storage needs. 4. Cost-Effective Wire organizers are generally less expensive than other types of shelving systems, making them an excellent choice for budget-conscious homeowners.
Tools and Materials Needed
Before you start your installation, gather the following tools and materials
- Measuring tape - Level - Drill and drill bits - Screwdriver - Stud finder - Pencil - Wire shelving kit (includes shelves, brackets, and support rods) - Safety goggles
Step-by-Step Installation Guide
Step 1 Measure Your Closet Space
Begin by measuring the width and height of your closet. Take note of any obstructions such as hanging rods, doors, or light fixtures. These measurements will help you choose the right size wire shelving kit.
Step 2 Choose Your Layout
Decide on a layout that works best for your storage needs. Consider how you use your closet and what items require the most space. Common configurations include

- Hanging space for clothes - Shelves for shoes and accessories - Baskets or bins for smaller items
Step 3 Mark the Installation Points
Using the measuring tape and pencil, mark where the brackets will be installed. For optimal support, ensure that the brackets are attached to the wall studs. Use a stud finder to locate the studs, and mark these points clearly.
Step 4 Install the Brackets
With your drill, install the brackets at the marked points. Use a level to ensure they are straight. For added stability, make sure the brackets are anchored securely into the studs. If any brackets need to be installed where there are no studs, use wall anchors to provide extra support.
Step 5 Hang the Shelves
Once the brackets are securely in place, it’s time to hang the wire shelves. Simply slide the shelves onto the brackets until they click into place. Ensure that they are level and adjust as needed.
Step 6 Install Additional Components
If your wire closet organizer kit includes additional components, such as support rods or accessories, refer to the manufacturer’s instructions for installation. These can include features like shoe racks, baskets, or expandable rods.
Step 7 Organize Your Closet
With your wire organizer in place, it’s time to put everything in order. Sort through your items, keeping like things together. Use baskets for smaller items and arrange shoes by type or season. Don’t forget to leave some space for future additions!
Conclusion
Installing a wire closet organizer is a straightforward process that can make a significant difference in your home’s organization. By following these steps, you’ll create a functional and visually appealing closet space that meets your storage needs. Embrace the newfound clarity and ease that comes with an organized closet, and enjoy the benefits of a clutter-free home!

 Unity
Unity Creation
 Challenge
 Contribution
Copyright © 2025 Hebei Minmetals Co., Ltd. All Rights Reserved. Sitemap | Privacy Policy