


Building a chain link fence gate is a practical project that enhances the functionality and security of your outdoor space. Whether you are installing a new fence or need to replace an existing gate, understanding the essential steps involved in the process can make the task much more manageable. This article will guide you through the key stages of constructing a chain link fence gate, ensuring you have all the necessary knowledge to complete this project successfully.
Materials Needed
Before starting, gather the necessary materials. For a typical chain link fence gate, you will require
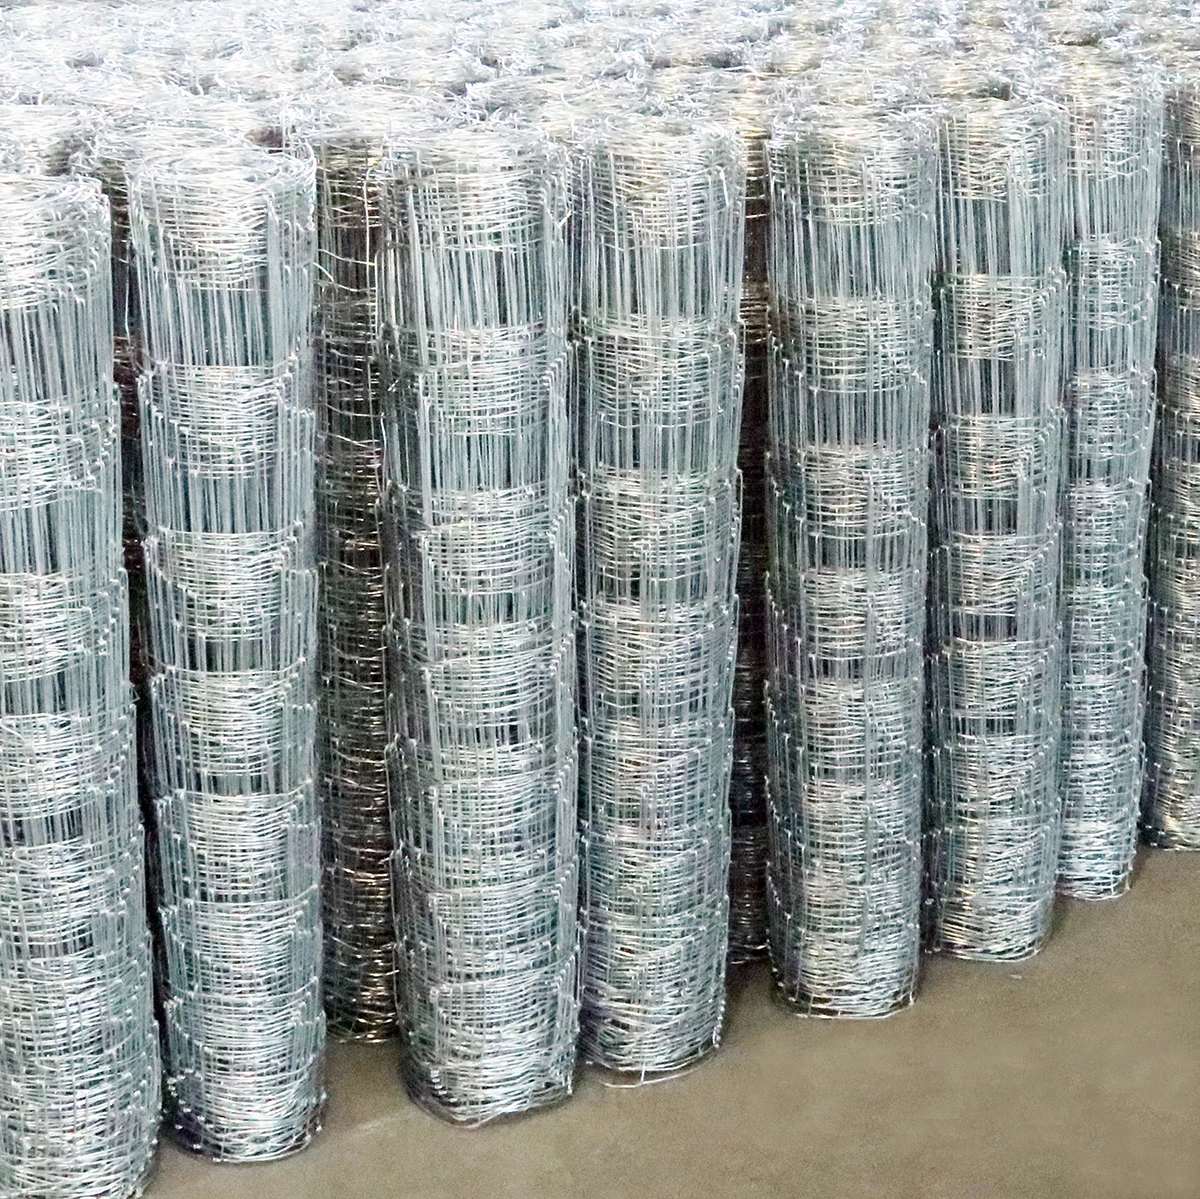
- Chain link fabric - Galvanized gate posts (one for each side of the gate) - Gate hinges - A latch mechanism - A top rail (in case of a larger gate) - Concrete mix (for securing the posts) - Gate frame materials (either pre-made or constructed from tubing) - Tools such as a shovel, post level, saw, drill, and wrenches.
Step 1 Planning and Measurements
The first step in building your chain link fence gate is to determine its size. Measure the opening where the gate will be installed, accounting for the height and width needed. Typically, gates should be around 4 to 6 feet wide, depending on the access required. Additionally, ensure that the height of the gate matches your fence to create a uniform appearance.
Step 2 Installing Gate Posts
Once you have your measurements, it’s time to install the gate posts. Start by marking the locations where the posts will be placed, typically on either side of the gate opening. Dig holes for the posts, making sure they are deep enough to provide stability—generally about one-third of the length of the post should be buried.
Place the posts in the holes and ensure they are level and plumb. Once the posts are aligned, mix the concrete according to the manufacturer's instructions and pour it into the holes to secure the posts in place. Allow the concrete to cure completely, which may take 24 to 48 hours.

Step 3 Constructing the Gate Frame
With the gate posts securely in place, it’s time to construct the gate frame. Depending on your preference, you can either purchase a pre-made frame or build one using galvanized steel tubing. If you’re building the frame, cut the tubing to fit the measurements of your gate opening. Typically, the frame will consist of two vertical sides and one or two horizontal rails.
Weld or corner-brace the frame together for added durability. After constructing the frame, wrap the chain link fabric around it, trimming the fabric as necessary to fit. Use wire ties or clips to secure the fabric to the frame.
Step 4 Attaching Hinges and Latch
Once the gate frame is ready, it’s time to attach the hinges. Position the hinges on one side of the gate frame and the corresponding gate post, ensuring they are placed at an appropriate height to facilitate smooth swinging. Pre-drill holes for the screws to prevent the wood from splitting or the metal from bending. Secure the hinges tightly but ensure there’s enough space for the gate to swing freely.
Next, attach the latch mechanism on the opposite side of the gate. This can be a simple slide bolt or a more complex locking system, depending on your security needs.
Step 5 Finishing Touches
Finally, check the alignment and operation of the gate. Make any necessary adjustments to ensure it opens and closes smoothly. You can also consider painting or applying a rust-resistant coating to the frame and hardware to enhance durability and aesthetics.
Building a chain link fence gate may seem daunting at first, but by following these steps, you can create a functional and secure access point for your property. With the right materials and careful execution, your new gate will not only improve security but also add an attractive element to your fencing project.

 Unity
Unity Creation
 Challenge
 Contribution
Copyright © 2025 Hebei Minmetals Co., Ltd. All Rights Reserved. Sitemap | Privacy Policy