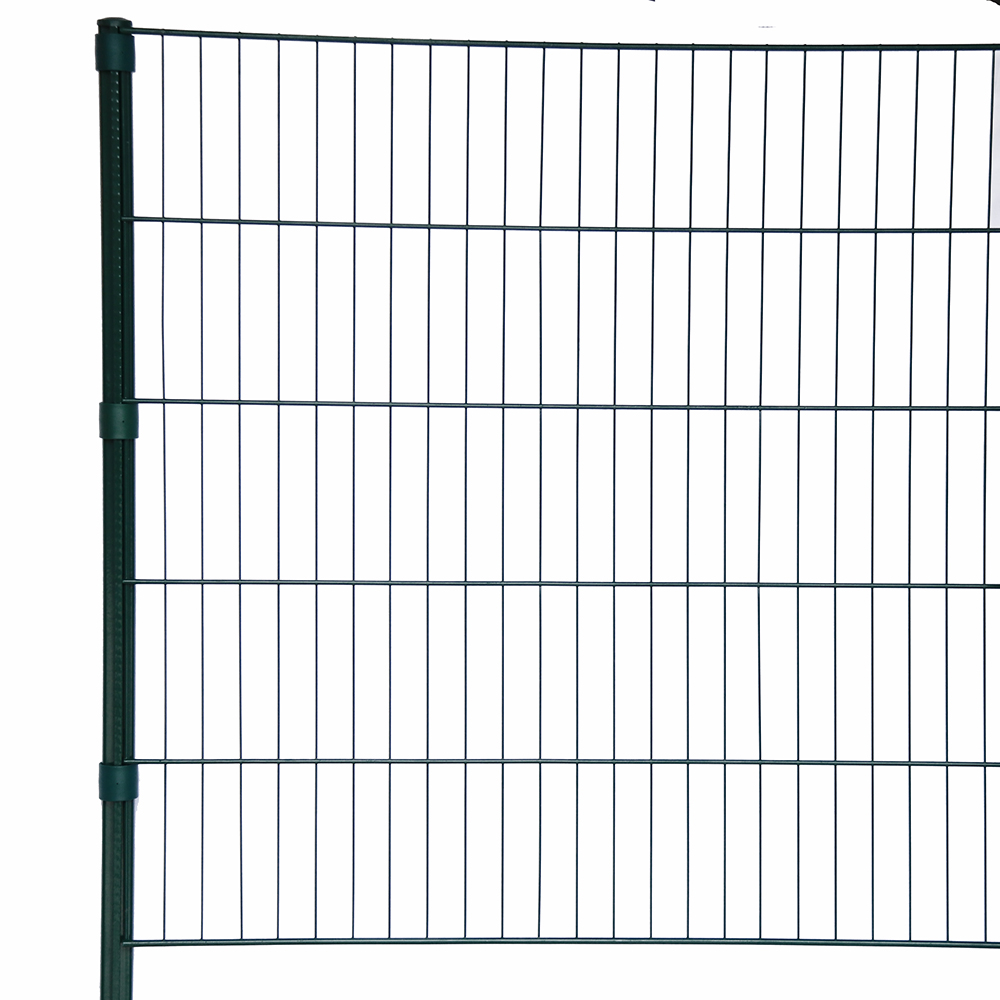
Guidelines for Installing Galvanized Steel Fence Posts Effectively and Reliably
نوفمبر . 27, 2024 06:35
Installing Galvanized Steel Fence Posts A Comprehensive Guide
When it comes to building a sturdy and durable fence, selecting the right materials is crucial. Galvanized steel fence posts are a popular choice due to their resilience against rust and corrosion, making them ideal for outdoor applications. In this article, we'll explore the steps for installing galvanized steel fence posts, ensuring that your fence remains strong and reliable for years to come.
1. Gather Your Materials
Before you start, ensure you have all necessary materials on hand. You'll need
- Galvanized steel fence posts - Concrete mix (if you’re using concrete to set your posts) - Post hole digger or auger - Level - Measuring tape - Gravel (optional for drainage) - Trowel (for mixing concrete) - Protective gear (gloves and safety glasses)
2. Planning the Layout
Start by planning the layout of your fence. Use a measuring tape to determine the distance between posts, generally between 6 to 8 feet apart. Mark the locations for each post with stakes or spray paint. This will serve as your guide during installation.
3. Digging Holes for the Posts
Using a post hole digger or an auger, dig holes at each marked location. The depth of the holes will depend on the height of your fence; a good rule of thumb is to bury at least one-third of the post's length for stability. For example, if you're using a 6-foot fence, aim for a hole depth of 2 feet.
4. Preparing the Base
To ensure proper drainage and prevent your posts from rotting, consider adding a layer of gravel at the bottom of each hole. This will help direct water away from the steel post and promote longevity. A couple of inches of gravel should suffice.
5. Setting the Posts
galvanized steel fence post installation

Place the galvanized steel post into the center of the hole. You may want to have a partner assist you with this step to ensure the post remains vertical. Use a level to check that the post is plumb. If necessary, adjust as you go.
6. Mixing and Pouring Concrete
Once the posts are positioned correctly, prepare the concrete mix according to the manufacturer's instructions. Pour the mixed concrete around the post, filling the hole up to the ground level. Remember to leave space for the topsoil if you plan on adding it later. Use a trowel to smooth the surface and create a slight slope away from the post for drainage.
7. Allowing for Curing Time
After pouring the concrete, it’s crucial to let it cure properly. Most concrete mixes require at least 24 to 48 hours to set, so avoid putting any weight on the posts during this time. For maximum strength, consider allowing the concrete to cure for several days, if you can.
8. Adding the Fence Panels
Once your posts are securely set and the concrete is fully cured, you can begin attaching your fence panels. Depending on the type of fence you’ve chosen (wood, vinyl, metal, etc.), use appropriate hardware (screws, nails, or brackets) to secure the panels to the posts.
9. Finishing Touches
Finally, check the alignment of your fence panels and make any necessary adjustments. Fill in any gaps around the base of the posts with soil or mulch for a polished look.
Conclusion
Installing galvanized steel fence posts is a straightforward process that requires careful planning and execution. By following these steps, you can achieve a strong and durable fence that not only enhances your property but also provides privacy and security. Remember, taking your time during the installation will yield the best results, ensuring that your fence stands the test of time. Happy fencing!


