installing welded wire fence with t posts
ديسمبر . 05, 2024 02:50
Installing Welded Wire Fence with T Posts A Comprehensive Guide
Installing a welded wire fence using T posts can be a straightforward yet rewarding project, whether you’re looking to secure livestock, establish a garden perimeter, or enhance your property’s aesthetic appeal. This guide will walk you through the process step by step, ensuring that your fence is sturdy, functional, and long-lasting.
Materials Needed
Before you begin, gather the following materials
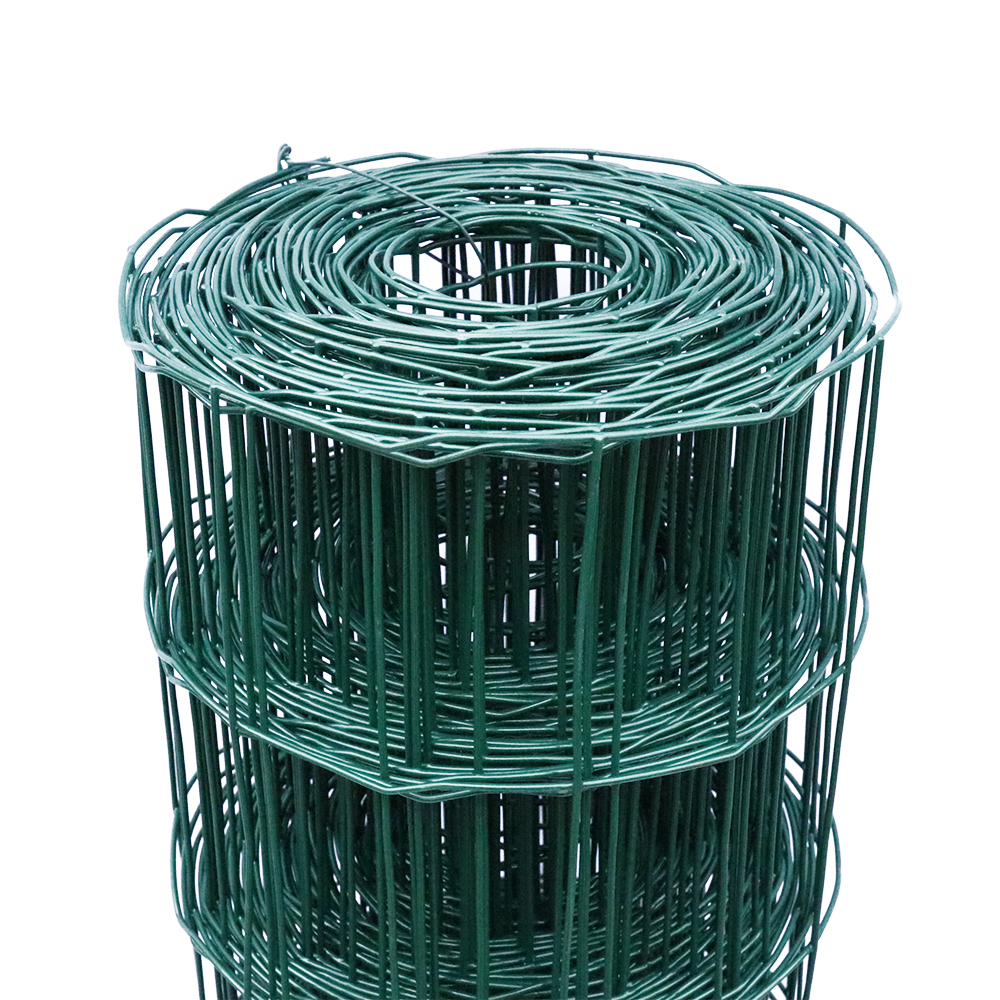
1. Welded Wire Fencing Choose the height and gauge that fits your needs. Typically, a height of 4 feet is adequate for most applications. 2. T Posts These will serve as your fence posts. The number of T posts required will depend on your fencing length, typically spaced every 8 to 10 feet. 3. Wire Cutters Necessary for cutting the welded wire fencing to the desired length. 4. Post Driver A tool for driving T posts into the ground effectively. 5. Fence Tensioning Tool To tighten the wire once installed. 6. Pliers and Fencing Clips For securing the welded wire to the T posts. 7. Measuring Tape For accurate measurement of the fencing length and post placement.
Step 1 Planning and Measuring
Start by planning the layout of your fence. Decide where the endpoints will be, and mark these with stakes. Use a measuring tape to ensure your fencing area is squared and straight. It’s essential to consider any local regulations regarding fencing, especially if it’s for livestock.
Step 2 Installing T Posts
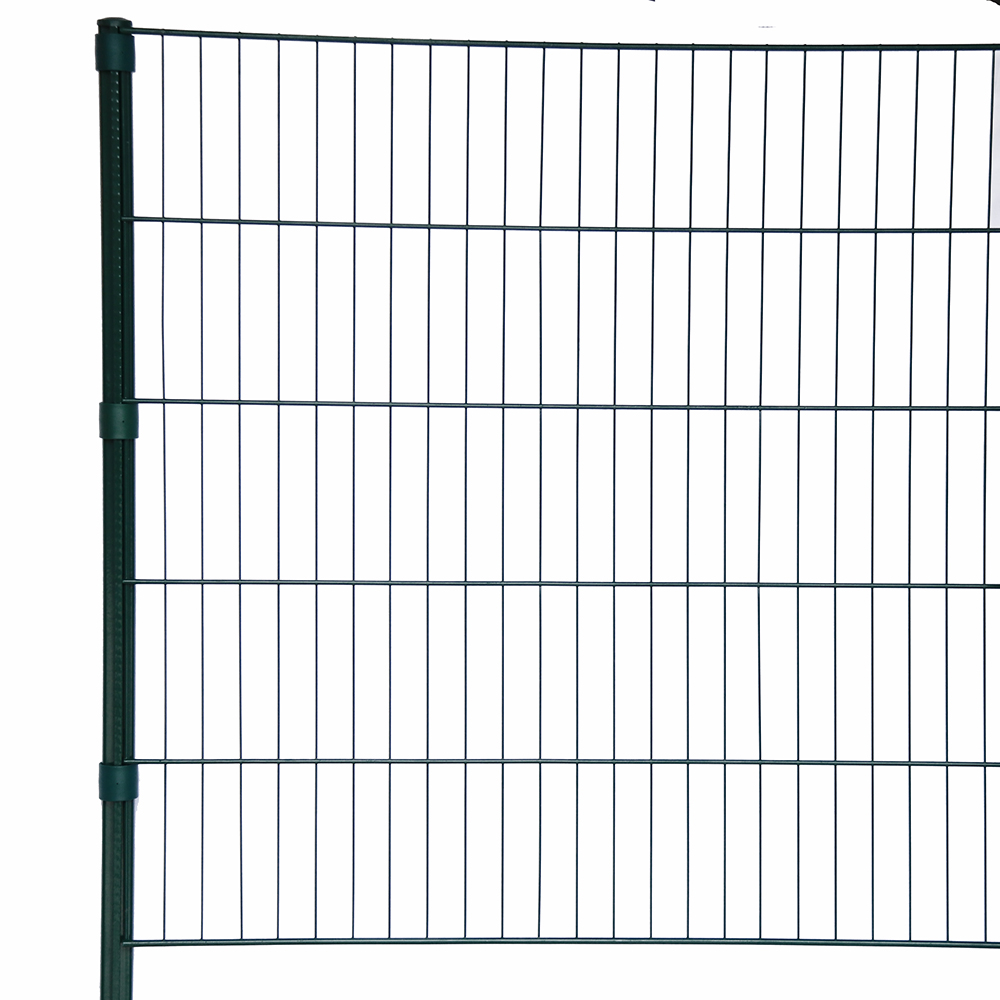
1. Mark the Post Locations Using your measuring tape and stakes, mark where each T post will go. Maintain a distance of 8 to 10 feet between posts. 2. Drive in the Posts Using the post driver, install the T posts into the ground. Ensure that at least a third of each post is buried for stability. The pointed end of the post should be driven into the ground, with the flat top at a uniform height to make attaching the wire easier.
3. Check Post Alignment After installing each post, step back and check for alignment. It’s best to have all posts in a straight line before proceeding to the next step.
Step 3 Attaching the Welded Wire Fencing
installing welded wire fence with t posts

1. Unroll the Welded Wire Once the T posts are installed, unroll the welded wire fencing along the length of the T posts. 2. Position the Fencing Make sure that the bottom of the welded wire fencing is placed securely on or just above the ground. This helps prevent animals from burrowing underneath.
3. Secure the Fencing to T Posts Starting at one end, use fencing clips or wire to attach the welded wire fencing to the T posts. Space the clips about every 24 inches vertically along the posts. This provides adequate support for the wire and prevents sagging.
Step 4 Tensioning the Wire
To maintain the integrity of the fence, it is crucial to tension the welded wire properly
1. Use a Fence Tensioning Tool Attach the tensioning tool to one end of the welded wire. Tighten it gradually until the wire is taut, but be careful not to over-tighten, as this can cause damage.
2. Secure the Other End Once the wire is taken to the desired tension, secure the other end to the last T post, again using fencing clips or wire to ensure it stays in place.
Step 5 Final Checks and Maintenance
After installation, perform a final inspection
- Check the alignment and tension of the fence. - Ensure that all clips are secure and there are no loose ends. - Look out for any areas where animals could dig under and consider adding gravel or additional fencing. - Regularly inspect the fence and make adjustments as necessary to maintain its shape and integrity.
Conclusion
Installing a welded wire fence with T posts is an excellent DIY initiative that can improve your property’s function and look. By following these steps carefully, you can ensure that your fence is durable and effective for years to come. With proper maintenance, your welded wire fence will be a reliable boundary for whatever purpose you’ve designed it for, whether that be securing livestock, protecting your garden, or defining your property’s edges. Happy fencing!


