


Metal Post Installation A Comprehensive Guide
Metal post installation is a crucial process in various construction and landscaping projects. Whether you're erecting fences, building decks, or constructing pergolas, the longevity and stability of your structures heavily rely on how well you install your metal posts. This guide will walk you through the essential steps and considerations for a successful installation.
1. Planning and Preparation
Before beginning the installation, thorough planning is essential. Determine the purpose of your metal posts and the load they will need to bear. This will influence the type of metal you choose, whether it be galvanized steel for durability or aluminum for lightweight options. Additionally, consider the height and spacing of the posts based on the design of your project.
2. Gathering Materials and Tools
Once you have a plan in place, gather all necessary materials and tools. Essential items include metal posts, concrete mix (if setting the posts in concrete), a post hole digger or auger, a level, a measuring tape, and safety gear such as gloves and goggles. High-quality metal posts will ensure better strength and longevity, so choose reputable suppliers.
Use your measuring tape to mark the positions of your posts on the ground. It's advisable to double-check measurements and use stakes and string lines for accurate spacing and alignment. This step is vital to avoid any misalignment during installation, which could compromise the project’s aesthetics and stability.
4. Digging Post Holes

With the layout marked, proceed to dig the holes for your metal posts. The depth and width of the holes will depend on the height of the posts; typically, a hole should be one-third the height of the post. For example, if your posts will stand 6 feet tall, aim for a hole that is at least 2 feet deep. Clearing the holes of rocks and debris is also essential to ensure a snug fit for the posts.
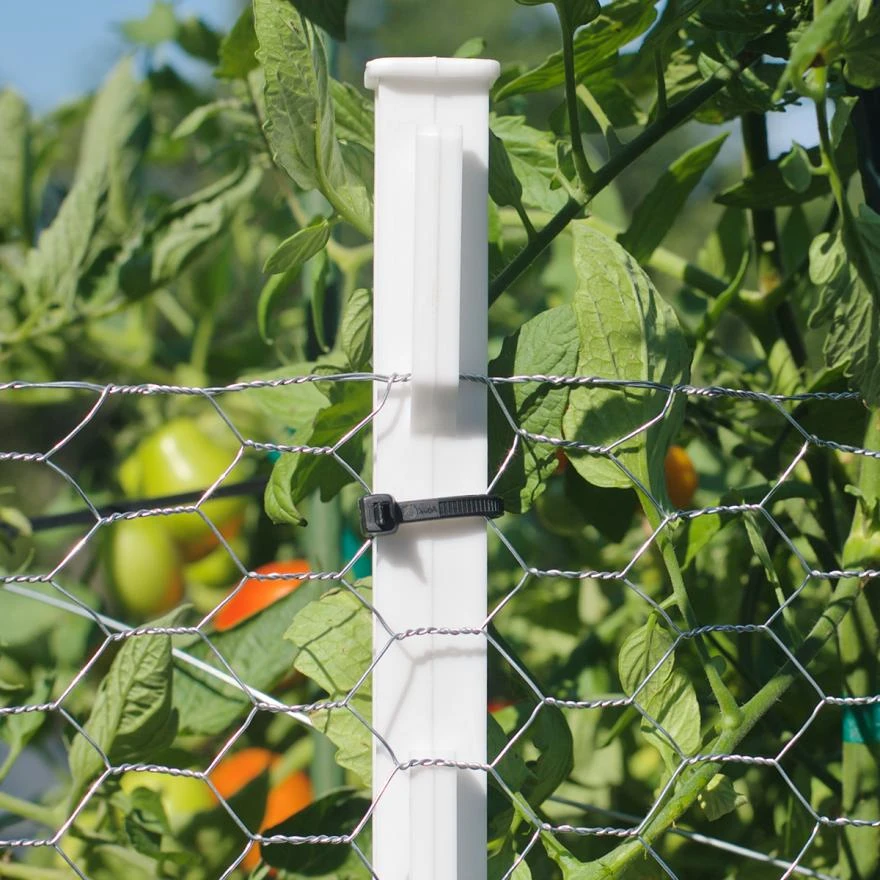
5. Installing the Posts
Insert the metal posts into the holes, ensuring they are plumb (vertically straight) using a level. If you’re using concrete, mix it according to the manufacturer's instructions and pour it into the hole around the post, allowing it to set. For added stability, tamp the concrete down. If you’re using gravel, fill the hole with gravel while ensuring the post remains vertical.
6. Allowing Drying Time
After installing, allow the concrete to cure for at least 24 to 48 hours before applying any load on the posts. This waiting period ensures that the posts are securely anchored and can withstand future stress.
7. Finishing Touches
Once the posts are set, you can proceed with your project’s finishing touches, whether that means attaching panels or railings for a fence or laying down a decking surface.
In conclusion, proper installation of metal posts is vital for the success of your projects. By following these steps and taking your time to do it right, you can ensure a sturdy and long-lasting structure that will stand the test of time.

Copyright © 2025 Hebei Minmetals Co., Ltd. All Rights Reserved. Sitemap | Privacy Policy