


Creating a Chicken Wire Trellis for Tomatoes A Step-by-Step Guide
Growing tomatoes is a rewarding gardening endeavor, but to maximize their yield and ensure healthy growth, providing the right support is essential. One effective method for supporting tomato plants is to use a chicken wire trellis. This guide will walk you through creating a chicken wire trellis that will keep your tomatoes off the ground, promote better air circulation, and ease the harvesting process.
Understanding the Benefits of Using a Chicken Wire Trellis
Before diving into the construction process, it's worth highlighting why a chicken wire trellis is beneficial for tomato plants. Tomatoes, especially indeterminate varieties, can grow quite tall and leggy. A trellis provides vertical support, allowing plants to grow upwards rather than sprawling outwards. This vertical growth leads to several advantages
1. Air Circulation Improved airflow around the plants can significantly reduce the risk of fungal diseases. 2. Sun Exposure Plants that grow upright receive more sunlight, which is crucial for photosynthesis and enhancing fruit development. 3. Less Pest Damage Elevating the plants can protect them from ground-dwelling pests, such as slugs and certain insects. 4. Easier Harvesting Picking ripe tomatoes becomes a much simpler task when they're at an accessible height.
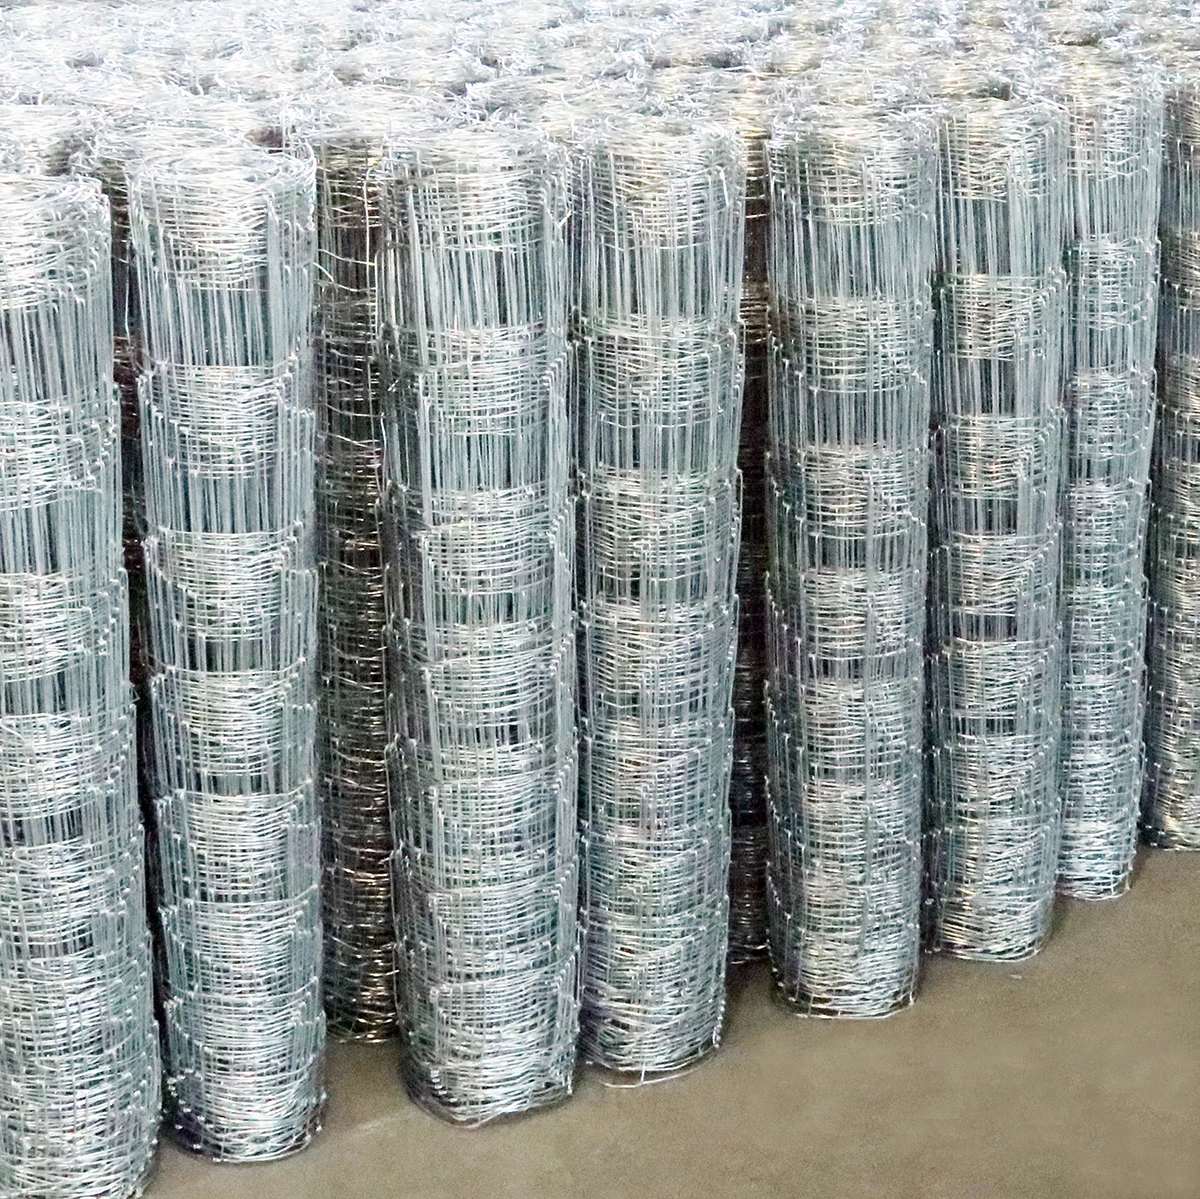
Materials Needed
To build a chicken wire trellis, gather the following materials
- Chicken wire (preferably 4 feet tall) - Wooden stakes or metal posts (6-8 feet high) - A hammer or mallet - Wire cutters - Garden twine or zip ties - Gloves (to protect your hands)
Step-by-Step Instructions

1. Select Your Location Choose a sunny spot in your garden that offers at least 6-8 hours of sunlight each day. Ensure it has good drainage to avoid waterlogging, which can harm tomato roots.
2. Install the Posts Use your wooden stakes or metal posts to create a frame for your trellis. Space the posts about 5-6 feet apart, depending on the number of tomato plants you intend to support. Drive the posts into the ground at least 12-18 inches deep for stability.
3. Cut and Attach the Chicken Wire Unroll your chicken wire and cut it to the desired height, typically around 4-5 feet tall. Drape the chicken wire over the posts and secure it with garden twine or zip ties, ensuring it is taut. Be careful not to pull it too tight, as this could cause the posts to bend.
4. Secure the Bottom To prevent the chicken wire from collapsing inward, attach the bottom edge to the ground with garden stakes or wire. This step is crucial in maintaining stability as your tomato plants grow.
5. Plant Your Tomatoes Dig holes at the base of your trellis, placing tomato plants about 18-24 inches apart. After planting, gently tie the stems of the plants to the chicken wire using garden twine. As the plants grow, continue to secure their stems to the trellis.
6. Maintenance Throughout the growing season, regularly check your trellis. Add more ties or twine as needed to support the growing plants. Keep an eye out for pests and diseases, and ensure that your tomatoes receive enough water and nutrients.
Conclusion
Creating a chicken wire trellis for your tomatoes is a simple yet effective way to enhance your gardening experience. Not only does it provide the necessary support for your plants, but it also fosters healthier growth and a more fruitful harvest. With a little time and effort, you can enjoy the visual appeal of an organized garden and the taste of homegrown tomatoes all summer long. Happy gardening!

 Unity
Unity Creation
 Challenge
 Contribution
Copyright © 2025 Hebei Minmetals Co., Ltd. All Rights Reserved. Sitemap | Privacy Policy