Installing Welded Wire Fence
Верас . 06, 2024 04:38
Installing Welded Wire Fence A Step-by-Step Guide
Welded wire fencing is a popular choice for homeowners and farmers alike due to its strength, durability, and versatility. Whether you're enclosing a garden, creating a barrier for livestock, or simply defining your property lines, a welded wire fence can provide a long-lasting solution. This guide will walk you through the process of installing a welded wire fence effectively.
Step 1 Planning and Preparation
Before you begin your installation, proper planning is essential. First, determine the purpose of your fence and the specific area you want to enclose. Measure the perimeter and mark the corners with stakes. This will help you visualize the layout and ensure precision. Be sure to check local regulations regarding fencing—some areas may have specific requirements.
Step 2 Gather Your Materials
Once you have a clear plan, gather all necessary materials
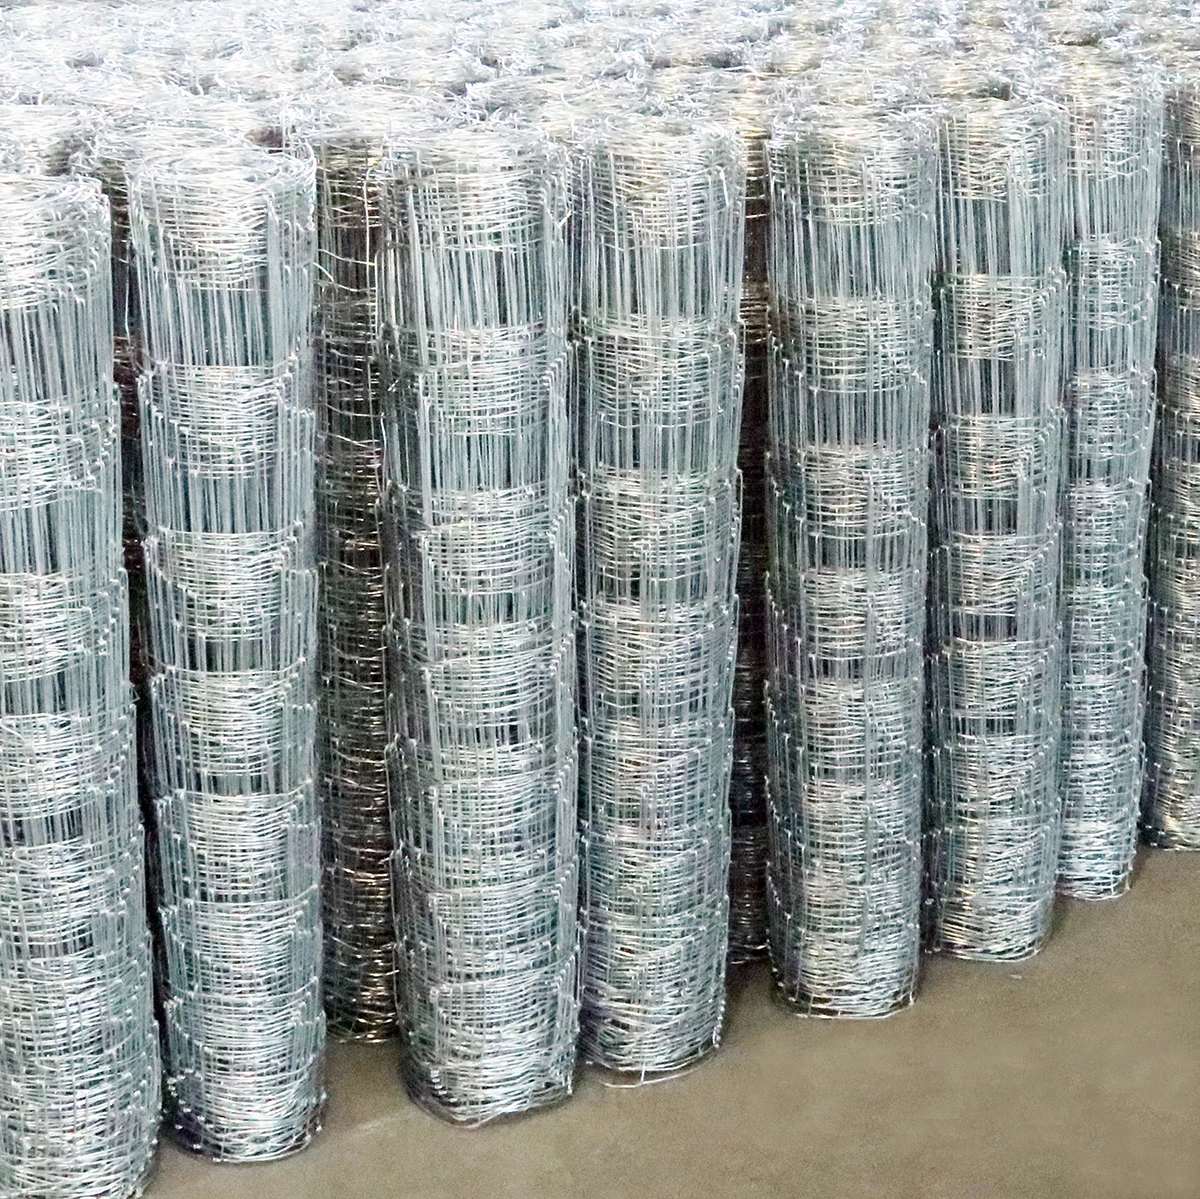
- Welded wire fencing
- Fence posts (typically wooden or metal)
- Post caps (if using wooden posts)
- Concrete mix (for securing posts)
- Tools tape measure, pliers, level, post hole digger, sledgehammer, and wire cutters.
Step 3 Installing the Fence Posts
Begin by installing the fence posts, which form the backbone of your fence. Using the post hole digger, create holes that are about 2 to 3 feet deep, depending on the height of your fence and local soil conditions. Space your posts about 8 to 10 feet apart. Place a post in each hole, ensuring it is level. Fill the holes with concrete mix for stability, allowing it to set as directed on the packaging.
installing welded wire fence
Step 4 Attaching the Welded Wire
Once the concrete has cured, it's time to attach the welded wire fencing. Unroll the welded wire along the length of the fence line. Begin at one corner post and use pliers to attach the wire to the posts. You can either tie it directly with wire ties or use staples if you're working with wooden posts. Make sure the wire is taut and straight, adjusting as necessary to prevent sagging.
Step 5 Securing the Bottom and Top
To further secure the fencing, you may wish to attach it at the bottom and the top. This additional support minimizes movement and helps prevent animals from pushing under or climbing over the fence. For the bottom, you can bury the wire slightly into the ground, or secure it with stakes or wire ties. At the top, ensure it's properly attached to each post.
Step 6 Finishing Touches
After the fencing is attached, inspect the entire structure for any loose areas or weak points. Trim any excess wire carefully using wire cutters to give your fence a clean look. Don’t forget to add post caps on top of wooden posts to protect them from moisture and enhance aesthetics.
Conclusion
With careful planning and execution, installing a welded wire fence can be a straightforward DIY project. It's a reliable fencing solution for a variety of applications, providing security and peace of mind. Whether you're keeping pets safe or protecting valuable crops, a well-installed welded wire fence can serve you for many years to come.


 Unity
Unity Creation
 Challenge
 Contribution


