step in poly fence post
Каст . 30, 2024 12:33
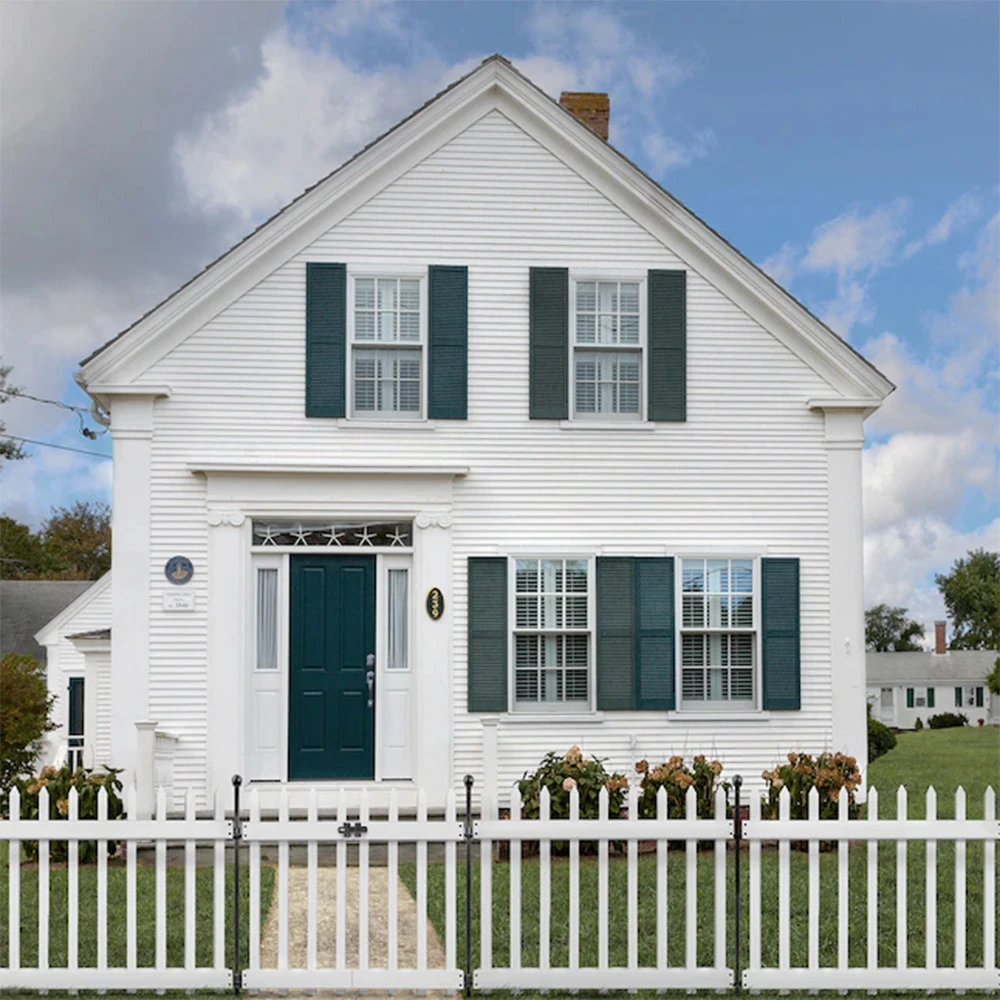
Step-by-Step Guide to Installing Poly Fence Posts
Installing poly (polyethylene) fence posts can be a sustainable and innovative solution for property boundaries and agricultural needs. Compared to traditional wooden or metal posts, poly posts offer durability, resistance to rot, insects, and harsh weather conditions. Moreover, they require less maintenance over time. This guide will go over the steps you need to follow for installing poly fence posts effectively.
Step 1 Planning Your Fence Line
Before you begin, it's crucial to plan your fence layout. Use stakes and string to outline the intended route of your fence. Measure the distance to determine how many posts you will need, typically spaced 6 to 8 feet apart. Make sure to check local regulations for any requirements concerning fence height and placement.
Step 2 Gathering Materials and Tools
You will need the following materials
- Poly fence posts
- Concrete mix (if necessary)
- Gravel
- A level
- A post hole digger or auger
- A tape measure
- A string line
- A hammer
Once you have gathered your materials and tools, you’re ready to start!
Step 3 Digging the Post Holes
Using the post hole digger or auger, dig holes for the posts. The depth of the hole should be about one-third the height of the post above ground. For instance, if the post is 6 feet tall, the hole should be around 2 feet deep. Ensure that each hole is wide enough to allow for drainage and stabilization, typically 10-12 inches in diameter.
Step 4 Setting the Posts
step in poly fence post
Place the poly fence post into the hole, ensuring it is vertical by using a level. If the post is more than a few feet above ground, you might want someone to hold it in place. If you're dealing with heavy winds or expect instability, consider adding gravel around the base of the post to secure it temporarily while you pour concrete.
Step 5 Pouring Concrete or Gravel
If you’re using concrete, mix it according to the package instructions and pour it into the hole around the post. Allow the concrete to set for 24 to 48 hours before moving on. If you prefer gravel, fill the hole with gravel and pack it tightly to ensure stability.
Step 6 Attaching the Fence Panels
Once the posts are installed and secured, it's time to attach the fence panels. Depending on the type of panels you’re using (chain link, wood slats, vinyl, etc.), follow the manufacturer's guidelines for attachment. Ensure that the panels are level and evenly spaced.
Step 7 Final Inspections
After installing the panels, do a final check. Inspect the alignment of the posts and panels, and ensure everything is secure. If necessary, make adjustments before your fence is ready for use.
Conclusion
With the right planning and tools, installing poly fence posts can be a straightforward project that enhances your property while minimizing long-term maintenance. Their resilience and eco-friendliness make them an attractive choice for modern fencing needs. Now that you’ve equipped yourself with this step-by-step guide, you’re ready to take on the challenge confidently!


 Unity
Unity Creation
 Challenge
 Contribution


