


Step in Poly Posts A Comprehensive Guide
In the realm of construction and design, poly posts—short for polyvinyl chloride or PVC posts—have become increasingly popular due to their versatility, durability, and aesthetic appeal. One of the significant steps in the implementation or installation of poly posts is the proper preparation and execution of the process, which can be broken down into several key stages. This article explores these steps, providing insights into how to effectively integrate poly posts into your projects.
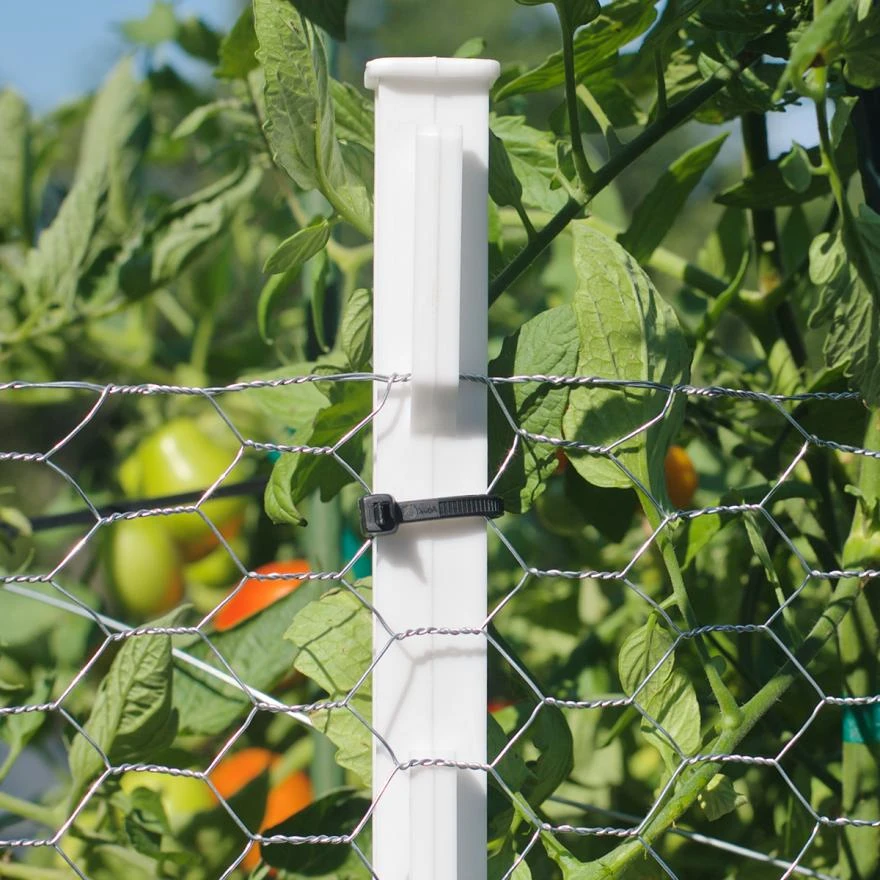
Understanding Poly Posts
Before diving into the step-by-step process, it's essential to understand what poly posts are. These posts are primarily made from PVC, a material renowned for its strength, resistance to weathering, and low maintenance needs. Poly posts are available in various sizes, colors, and styles, making them suitable for a range of applications, from fencing and gates to decorative features in landscaping.
Step 1 Planning and Design
The first step in working with poly posts is thorough planning. Whether you are building a fence, creating a pergola, or setting up a sign, it’s crucial to have a detailed design in place. Consider the following aspects during this stage
1. Purpose Identify the purpose of the poly posts. Are they primarily functional, decorative, or both? 2. Dimensions Determine the dimensions based on your design. Take careful measurements to ensure that the posts will fit seamlessly into your project. 3. Local Codes Check local building codes and regulations regarding the installation of poly posts, especially for structures like fences which often have height and material restrictions.
Taking the time to plan adequately will save you potential headaches down the line.
Step 2 Gathering Materials and Tools
Once you have your design mapped out, gather the necessary materials and tools
. You will need- Poly posts - Post caps (if desired for aesthetics) - Concrete mix (for securing posts in the ground) - A saw (if adjustments to post height are needed) - A level - A measuring tape - A shovel or post hole digger - Safety gear (gloves and goggles)

Having everything on hand will streamline the installation process.
Step 3 Marking Post Locations
With your materials ready, the next step is to mark where each post will go. Use the measuring tape to get precise distances between posts according to your design. Mark these locations with spray paint or stakes to ensure clarity when you begin digging.
Step 4 Digging Post Holes
Digging post holes is a critical part of the process. Each hole should generally be about one-third the length of the post above ground. For a standard 8-foot post, this means digging a hole approximately 2-3 feet deep. Ensure that the width of the hole is sufficient to allow for the concrete mix that will stabilize the post.
Step 5 Setting the Posts
After digging the holes, it’s time to set the posts. Place each poly post into its respective hole, ensuring it is straight and aligned with the previously marked locations. If necessary, use a level to make adjustments. Once positioned correctly, pour the concrete mix around the post, following the manufacturer’s instructions for mixing ratios and curing times.
Step 6 Finishing Touches
After the concrete has set and cured as per the instructions, it’s time for the finishing touches. Add post caps for a polished look and consider painting or decorating your poly posts if desired. Additionally, check for any sharp edges, and smooth them out as needed to ensure safety.
Conclusion
Incorporating poly posts into your construction or landscaping project can significantly enhance both the aesthetic and functional aspects of your space. By carefully executing each step—from planning to installation—you can ensure a high-quality result that will endure the test of time. Poly posts not only promise durability and low maintenance but also offer a modern look that can elevate any design. As you embark on your project, keep these steps in mind to achieve the best results with your poly post installation.

Copyright © 2025 Hebei Minmetals Co., Ltd. All Rights Reserved. Sitemap | Privacy Policy