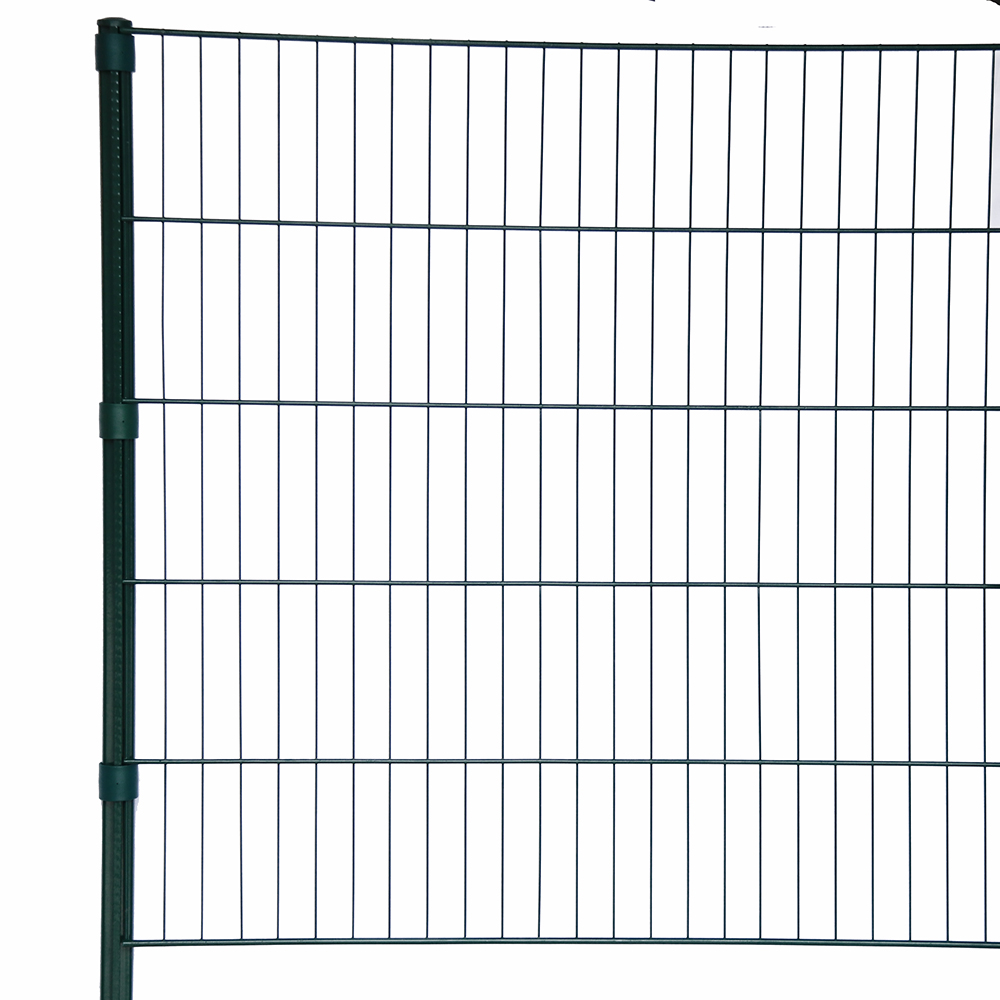
chain link fence gate installation
Ott . 18, 2024 07:26
Installing a Chain Link Fence Gate A Step-by-Step Guide
Installing a chain link fence gate can be a straightforward process, adding both functionality and security to your property. Whether you are creating an entryway for a garden, driveway, or backyard, ensuring proper installation is crucial for ease of use and durability. This article will guide you through the essential steps to successfully install a chain link fence gate.
Tools and Materials Needed
Before beginning the installation, gather the following tools and materials
- Chain link fence gate kit - Hinges - Latch mechanism - Level - Tape measure - Concrete mix (if needed) - Post hole digger or auger - Screwdriver - Wrench - Safety glasses and gloves
Step 1 Selecting the Location
Choose the appropriate location for your gate. Make sure it aligns with the existing fence and is wide enough to allow easy passage. Consider the slope of the ground and any obstructions like trees or shrubs.
Step 2 Preparing the Gate Posts
For a durable installation, you need sturdy posts. Generally, a chain link fence gate requires two posts one for the hinged side and another for the latch side. Use a post hole digger to create holes for the posts. The depth of the holes should be at least one-third of the total height of the posts. If the ground is rocky or unstable, consider using a concrete mix to set the posts.
Step 3 Installing the Gate Posts
chain link fence gate installation

Insert the gate posts into the holes. Ensure they are plumb and level — this is crucial for proper gate operation. If using concrete, mix it according to the instructions and pour it around the posts to secure them in place. Allow the concrete to cure for at least 24 hours before proceeding.
Step 4 Attaching the Hinges
Once the posts are secure, it’s time to attach the hinges. Position the gate on the hinge post, ensuring it swings open in the desired direction. Attach the hinges to the post and the gate according to the manufacturer’s instructions, making sure they are tightly secured.
Step 5 Installing the Latch
Next, install the latch on the opposite post. Position it at a comfortable height, ensuring that it aligns perfectly with the latch plate on the gate. Secure the latch following the manufacturer’s instructions, ensuring it operates smoothly and securely locks the gate.
Step 6 Final Adjustments and Testing
After both the hinges and latch are installed, it’s time to test the gate. Open and close the gate several times to check for smooth operation. Make adjustments to the hinges if necessary to align the gate properly. Ensure the latch engages and disengages easily.
Conclusion
Installing a chain link fence gate can enhance your property’s accessibility while providing security. By following these steps carefully, you can ensure a successful installation that will withstand the test of time. Always remember to wear safety gear and take necessary precautions during the installation process. With a little patience and effort, your new gate will function flawlessly for years to come.


