How to Properly Install Metal Posts for Your Garden Fence
Ott . 16, 2024 07:24
Installing Metal Garden Fence Posts A Comprehensive Guide
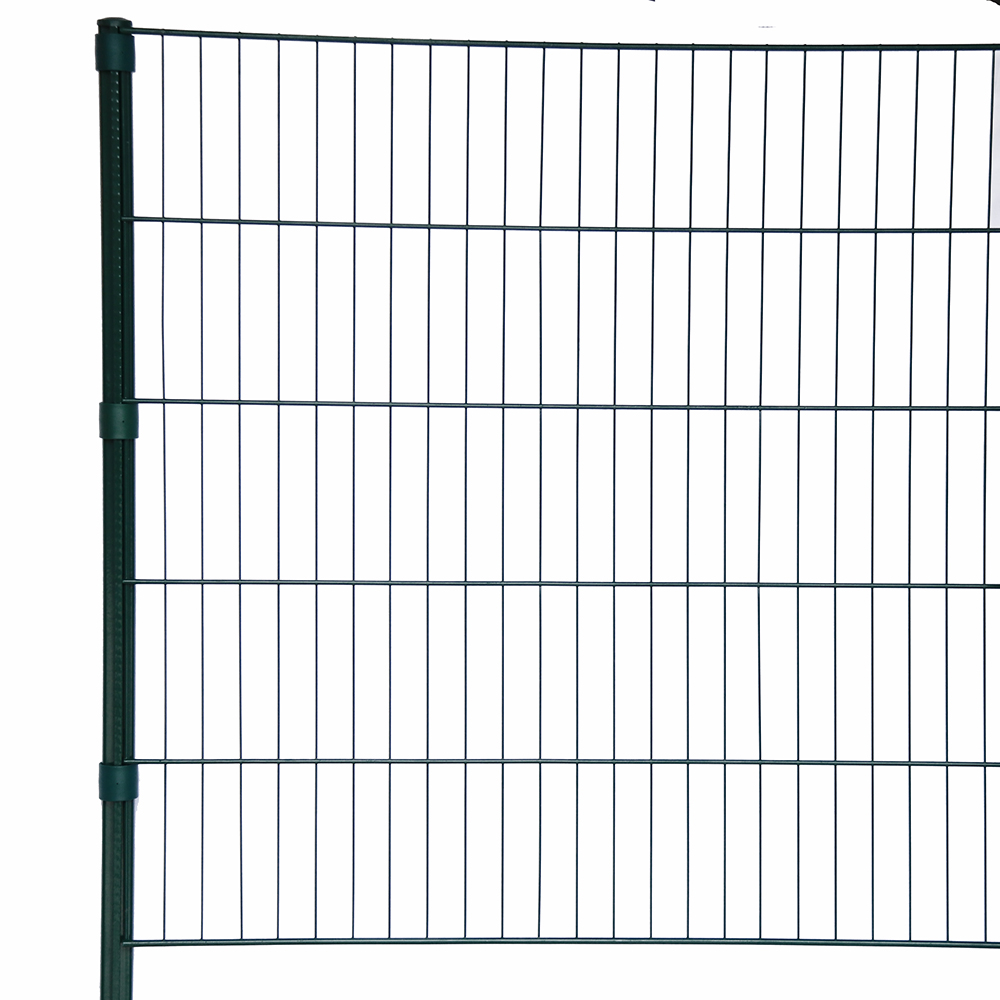
When it comes to enhancing your garden's aesthetics and security, installing metal garden fence posts is a practical and durable solution. Metal fencing provides a robust barrier against intruders and animals while also adding a modern touch to your outdoor space. This article will guide you through the essential steps to efficiently install metal fence posts in your garden.
1. Planning and Preparation
Before diving into the installation process, it is crucial to plan your project. Start by determining the purpose of your fence. Are you looking to keep pets in, deter wildlife, or simply create a boundary? Once you've clarified your objectives, measure the length of fence you need and sketch a rough layout. Consider the local regulations regarding height and materials to ensure compliance.
2. Choosing the Right Metal Posts
Metal fence posts come in various types, including galvanized steel, aluminum, and wrought iron. Galvanized steel is highly recommended for its exceptional durability and resistance to rust, making it ideal for outdoor use. Aluminum is lightweight and resistant to corrosion, while wrought iron offers a classic look but may require more maintenance. Choose the type that best fits your needs and aesthetic preferences.
3. Gathering Tools and Materials
Ensure you have all necessary tools and materials before beginning your project. You will need
- Metal fence posts - Concrete mix or post anchors - A post hole digger or auger - A level - A measuring tape - A string line - A sledgehammer or mallet - Safety gloves and goggles
Having the right tools at hand will make the installation process smoother and more efficient
.4. Marking the Location
installing metal garden fence posts

Once you have your materials, it’s time to mark the locations for your posts. Use the measuring tape to ensure equal spacing between each post, typically 6 to 8 feet apart, depending on your fence design. Use stakes and a string line to outline where the posts will go. This step helps maintain a straight and organized fence line.
5. Digging Post Holes
Using a post hole digger or an auger, dig holes that are about one-third the height of the post. For example, if your posts are 6 feet tall, the holes should be at least 2 feet deep. Ensure that the diameter of the holes is wide enough to accommodate the posts securely. You'll want to remove any rocks or debris that could interfere with the installation.
6. Setting the Posts
Place the metal post into the hole and use a level to ensure it's perfectly vertical. If you’re using concrete, mix it according to the package instructions and pour it into the hole around the post. Make sure the concrete is firm to the touch, and allow it to set as per the manufacturer's guidelines. If using post anchors, follow the specific installation instructions included with them.
7. Installing the Fence Panels
Once your posts are securely in place and the concrete has set, it's time to attach the fence panels. Most metal panels come with pre-drilled holes for easy attachment. Use appropriate screws or bolts to secure each panel to the posts. It’s important to ensure each panel is level and aligned properly for a professional finish.
8. Finishing Touches
Inspect your fence for any necessary adjustments, and fill in any excess holes around the posts with soil or gravel. Consider adding a top coating or paint to the metal for increased protection and a polished look. If desired, you can further enhance the area around the fence with landscaping to create a beautiful backdrop.
Conclusion
Installing metal garden fence posts may seem like a daunting task, but with proper planning, the right tools, and careful execution, you can achieve a stunning and durable fence that enhances your outdoor space. Following these steps will not only ensure a solid installation but also provide peace of mind knowing your garden is secured and beautifully defined. Happy fencing!


