How to Properly Install Metal Gate Posts for Lasting Stability
Ott . 22, 2024 15:23
Installing Metal Gate Posts A Step-by-Step Guide
Installing metal gate posts can seem like a daunting task, but with the right materials and guidance, you can achieve a sturdy and attractive entryway for your property. Metal gate posts are a popular choice due to their durability and ability to withstand harsh weather conditions. In this article, we’ll provide a detailed guide on how to install metal gate posts properly.
Materials Needed
Before you begin, gather all the necessary materials
1. Metal gate posts 2. Concrete mix (fast-setting is preferable) 3. Gravel 4. Level 5. Post hole digger or auger 6. Measuring tape 7. String line 8. Safety gear (gloves, goggles, etc.) 9. Wrench or socket set (for securing the gate)
Step 1 Planning and Preparation
Before you start digging, decide on the location of your gate and how wide it should be. Measure the width to ensure the gate can swing open without obstruction. Mark the positions for your gate posts with spray paint or stakes, ensuring they are spaced appropriately for the gate’s size.
Step 2 Digging the Post Holes
Using a post hole digger or auger, dig holes at least 2 feet deep for your metal gate posts. The depth can vary based on local soil conditions, but a general rule is that one-third of the post should be underground for stability. Make sure the holes are wide enough to accommodate your posts and allow for concrete.
Step 3 Adding Gravel
Before placing the gate posts, pour a few inches of gravel into the bottom of each hole
. This helps with drainage and prevents the posts from rotting or settling unevenly over time.Step 4 Setting the Posts
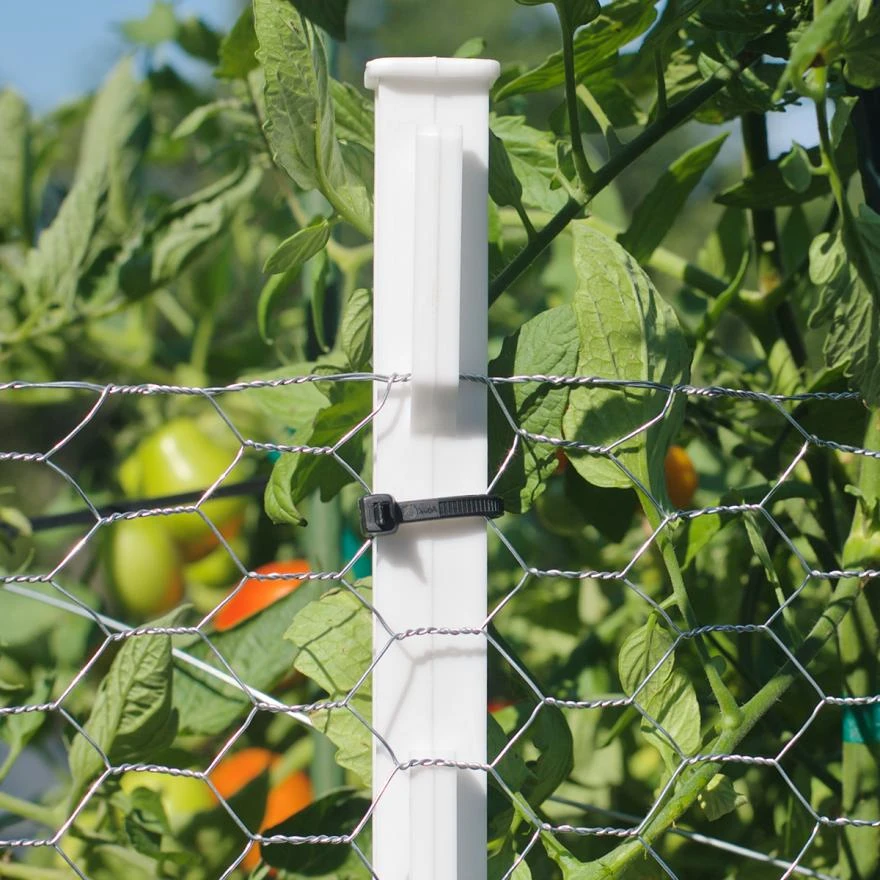
installing metal gate posts

Carefully place the metal gate posts into the holes. Use a level to ensure they are vertical (plumb) and aligned properly. You may want to use a string line stretched between the posts to maintain consistent height and alignment. Once the posts are positioned, temporarily brace them with stakes to hold them in place.
Step 5 Mixing and Pouring Concrete
Prepare the fast-setting concrete mix according to the manufacturer's instructions. Pour the concrete into the holes around the posts, ensuring it fills any gaps. Use a stick or trowel to work the concrete into the gravel at the bottom, removing any air pockets. Leave the top of the concrete a few inches below ground level to allow for soil or mulch later.
Step 6 Finishing Touches
Allow the concrete to set as recommended by the manufacturer, typically 24 to 48 hours. During this time, avoid moving or disturbing the posts. Once set, you can backfill around the concrete with soil or gravel to create a finished look.
Step 7 Installing the Gate
Once the posts are securely anchored, it’s time to install the gate. Attach the hinges to the gate and then secure them to the posts using a wrench or socket set. Make sure the gate swings smoothly and closes securely. You may need to make minor adjustments to the hinges to ensure the gate operates correctly.
Step 8 Final Checks
After installation, check that everything is aligned, secure, and functioning properly. Inspect the posts for vertical alignment and ensure that the gate opens and closes effortlessly.
Conclusion
Installing metal gate posts may require some time and effort, but the end result is a durable and attractive feature for your property. By following these steps, you can ensure that your metal gate posts are installed correctly, providing both functionality and aesthetic appeal. Enjoy your new gate and the enhanced security it brings!


